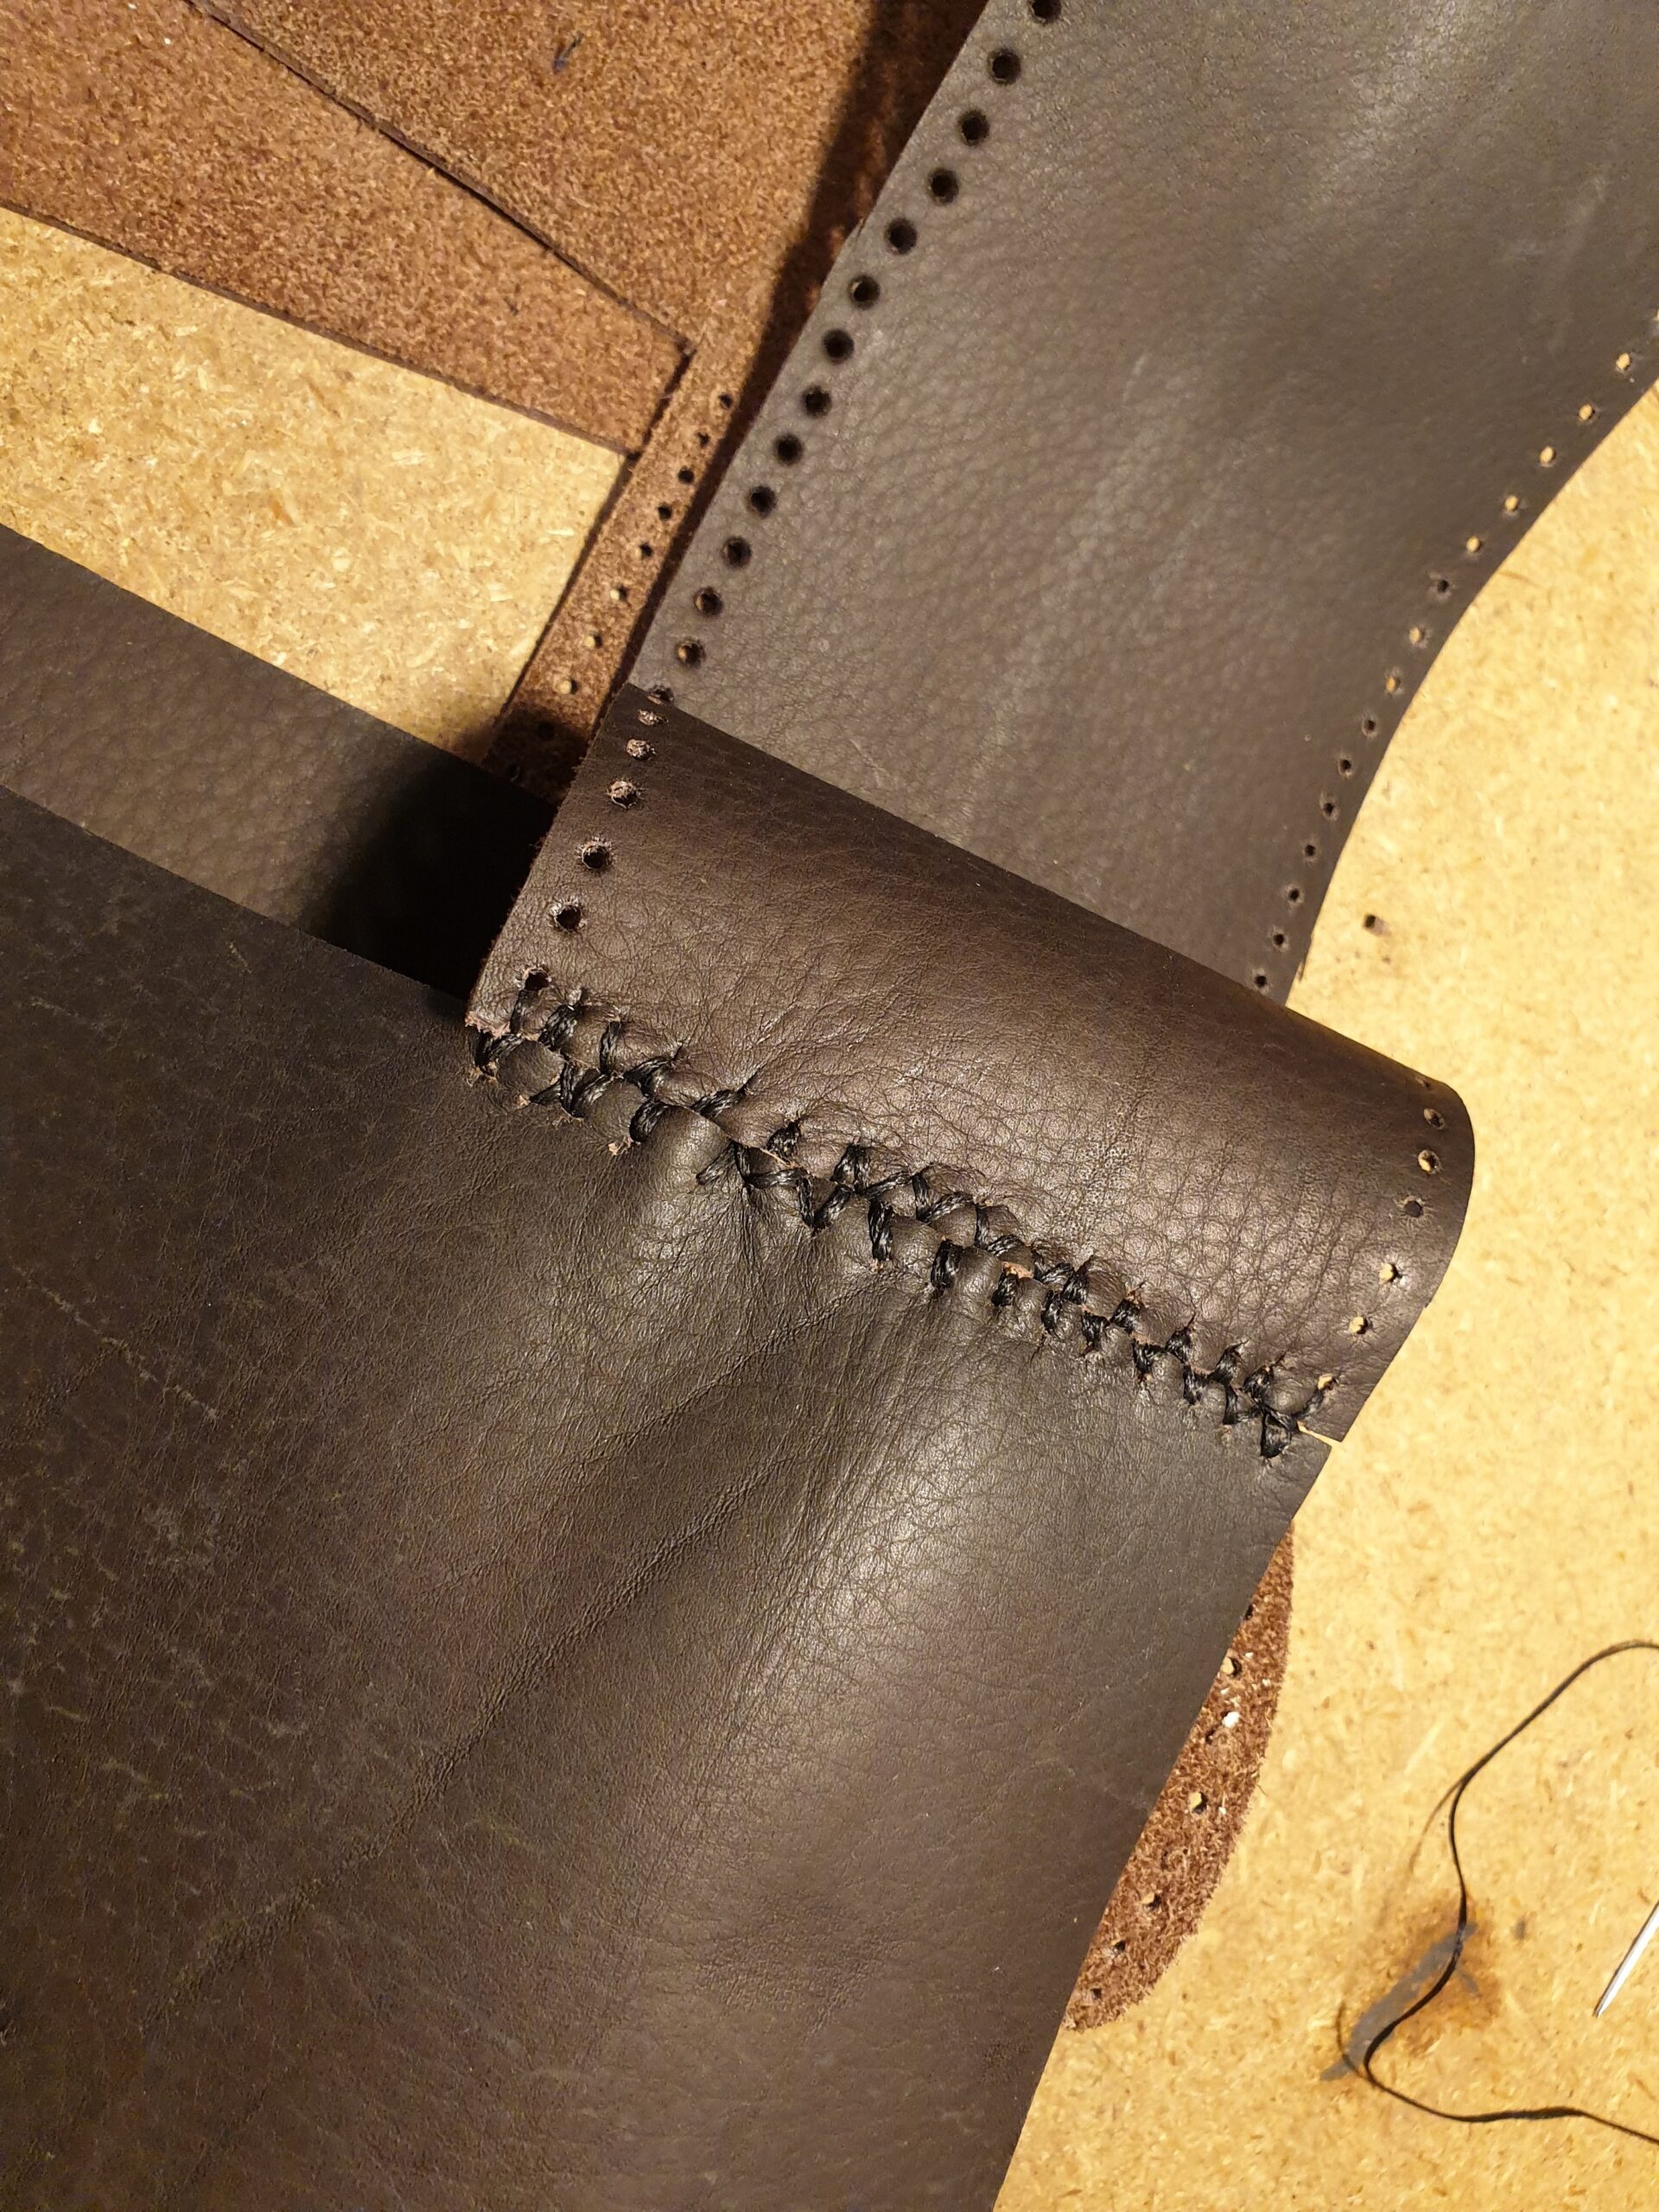
That’s it, good enough, just gotta re-fit it. Now begins the testing phase of seeing how this leather cover works, I wonder if it’ll stretch and come loose on the wheel. Perhaps the stitching will need to be tightened. Who knows, but I’ll only find out one way, so I shall re-fit it and see. Next I might see about making a matching gear stick gaiter and perhaps gear knob covers.
Spent an hour last night stitching the cover onto the wheel. I think I should have made it a tighter fit around the circumference, as I am getting a little bit of loose material around the spokes (or what ever they are). But I don’t think it’s a deal breaker yet.
The Land Rover steering wheel is finally getting a cover. I stripped the leather from the garage sofa the other day, washed it using a weak bleach mixture to get rid of the mold. Last night I set about cutting and stitching some bits… I now need to stitch it onto the wheel. It fits fairly tight around the circumference of the wheel. I have yet to find out if this is tight enough. I suspect it is not right enough, this based on what I’ve seen on YouTube. But since I’ll have to cut new leather, I’m not going to worry until I find out why it should be almost impossible to get onto the wheel…
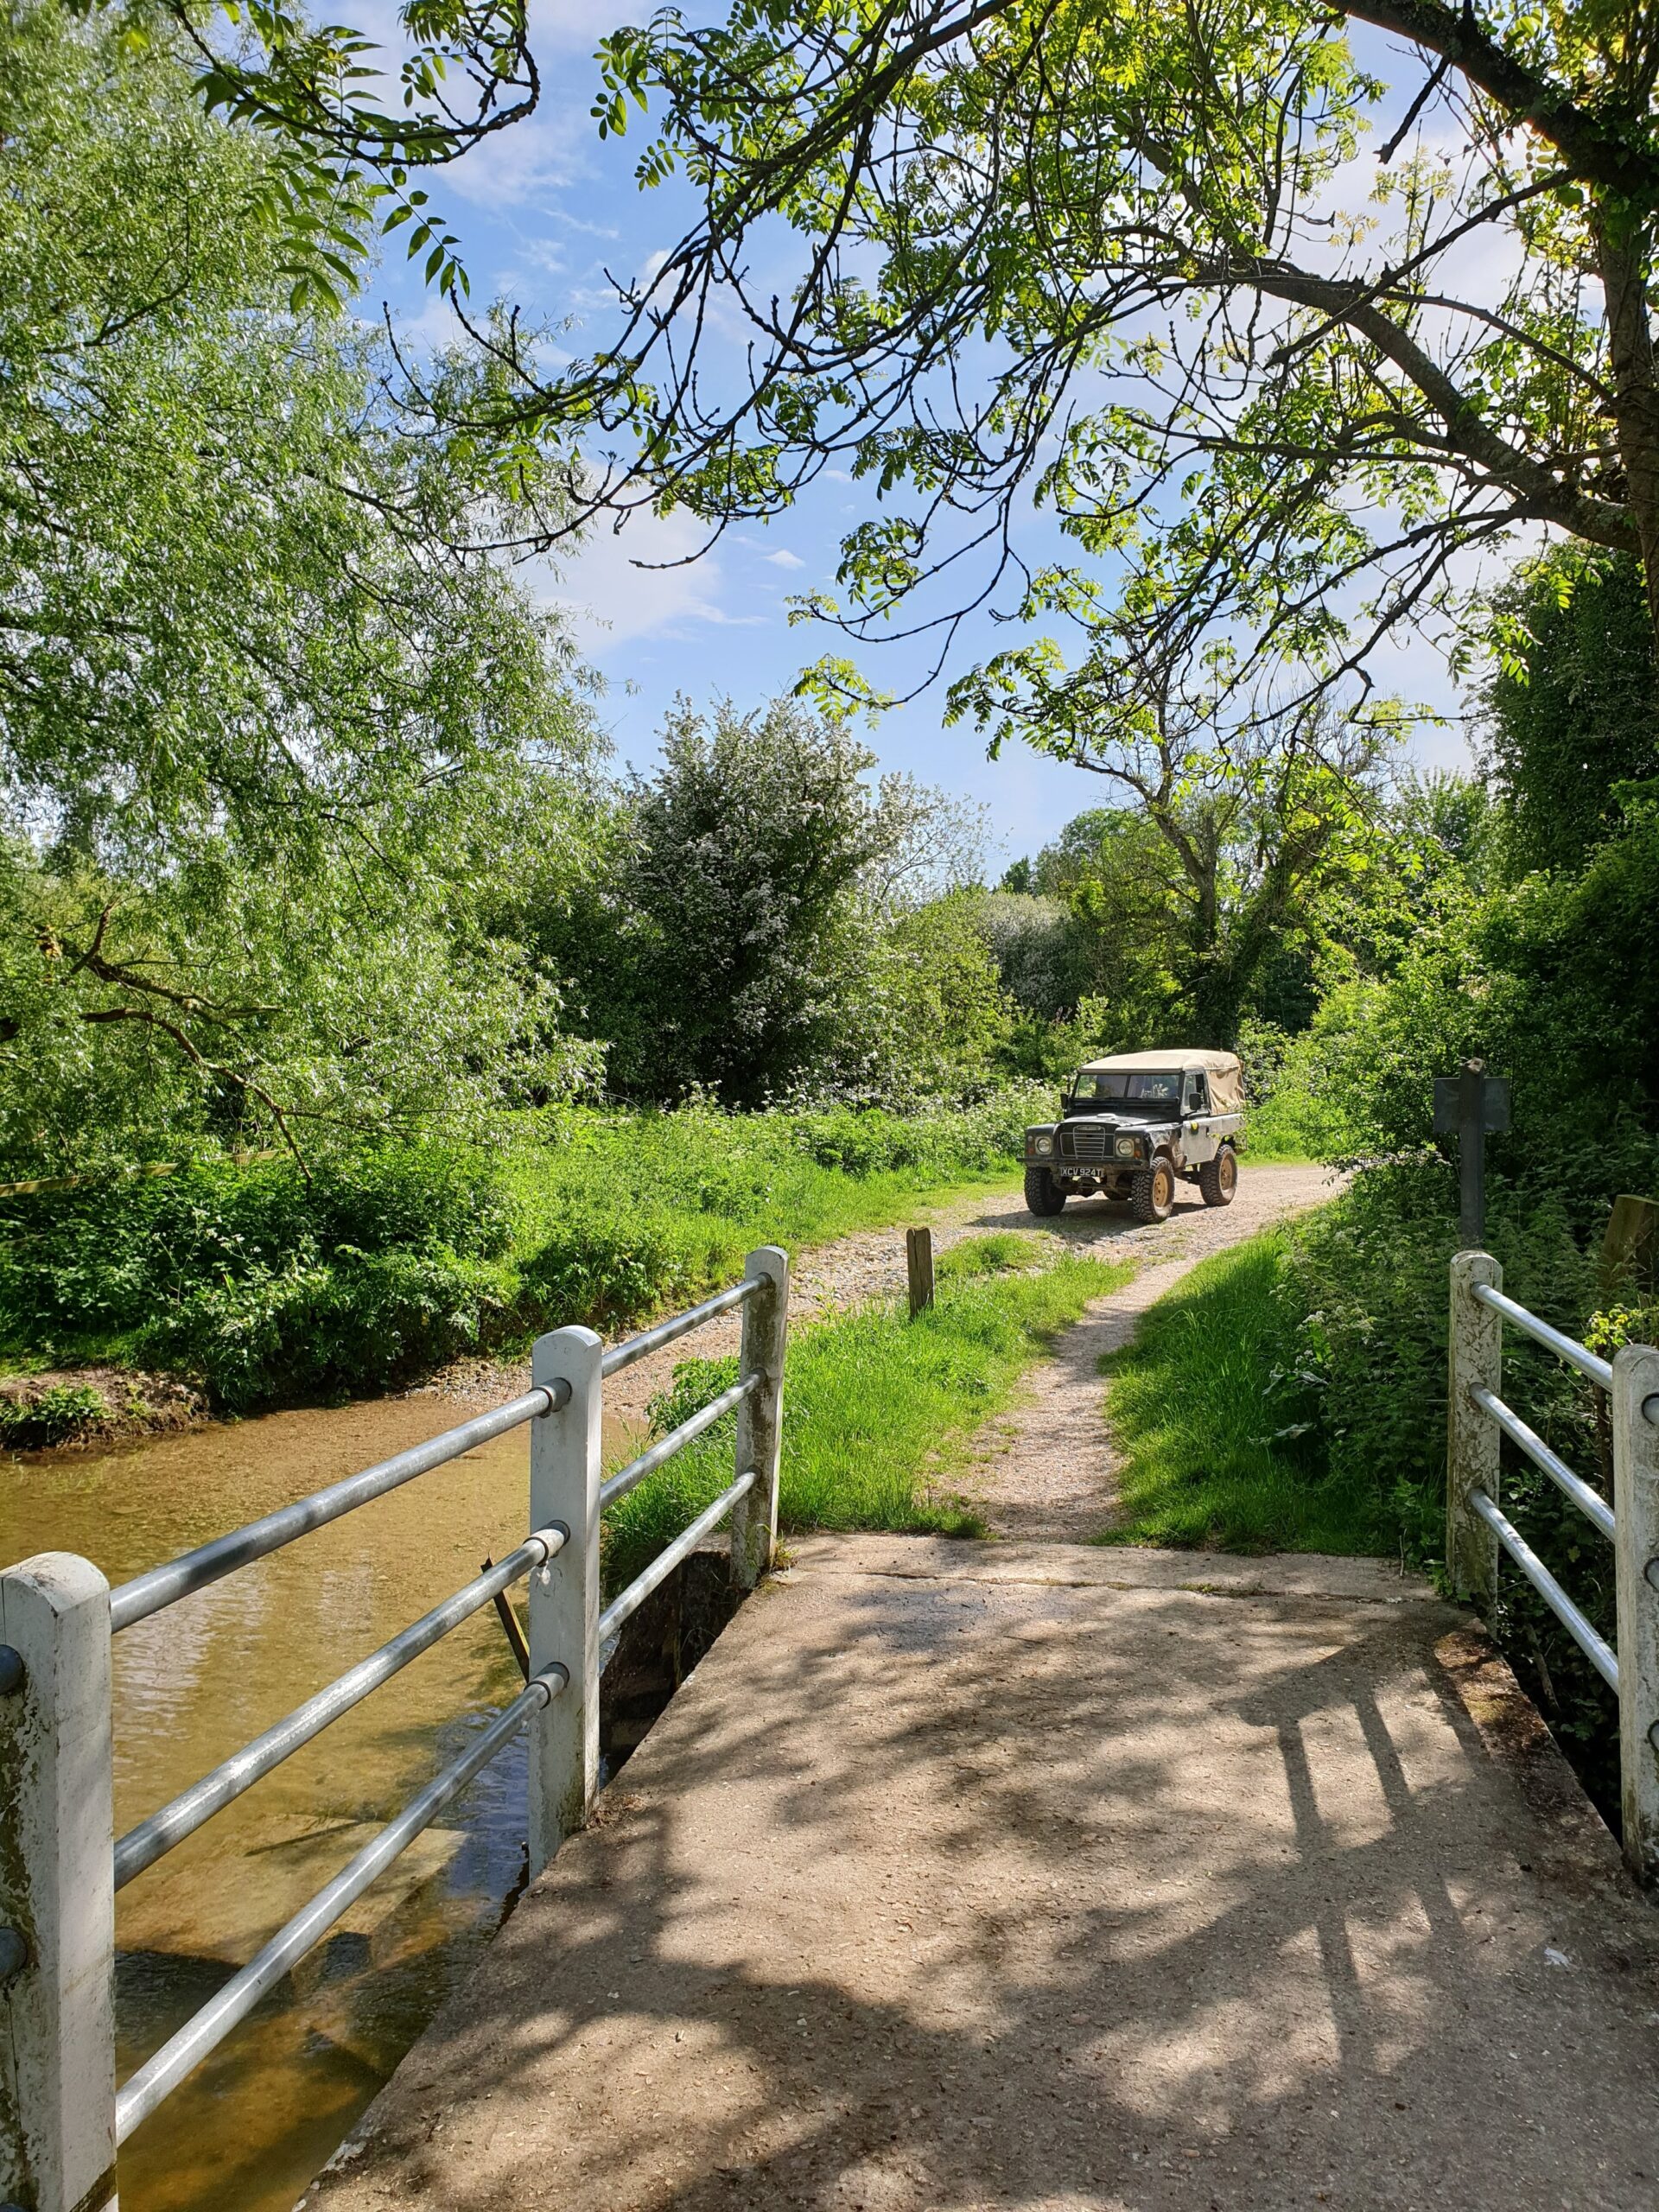
I went for a drive the other day and came back along this lane. These two videoa
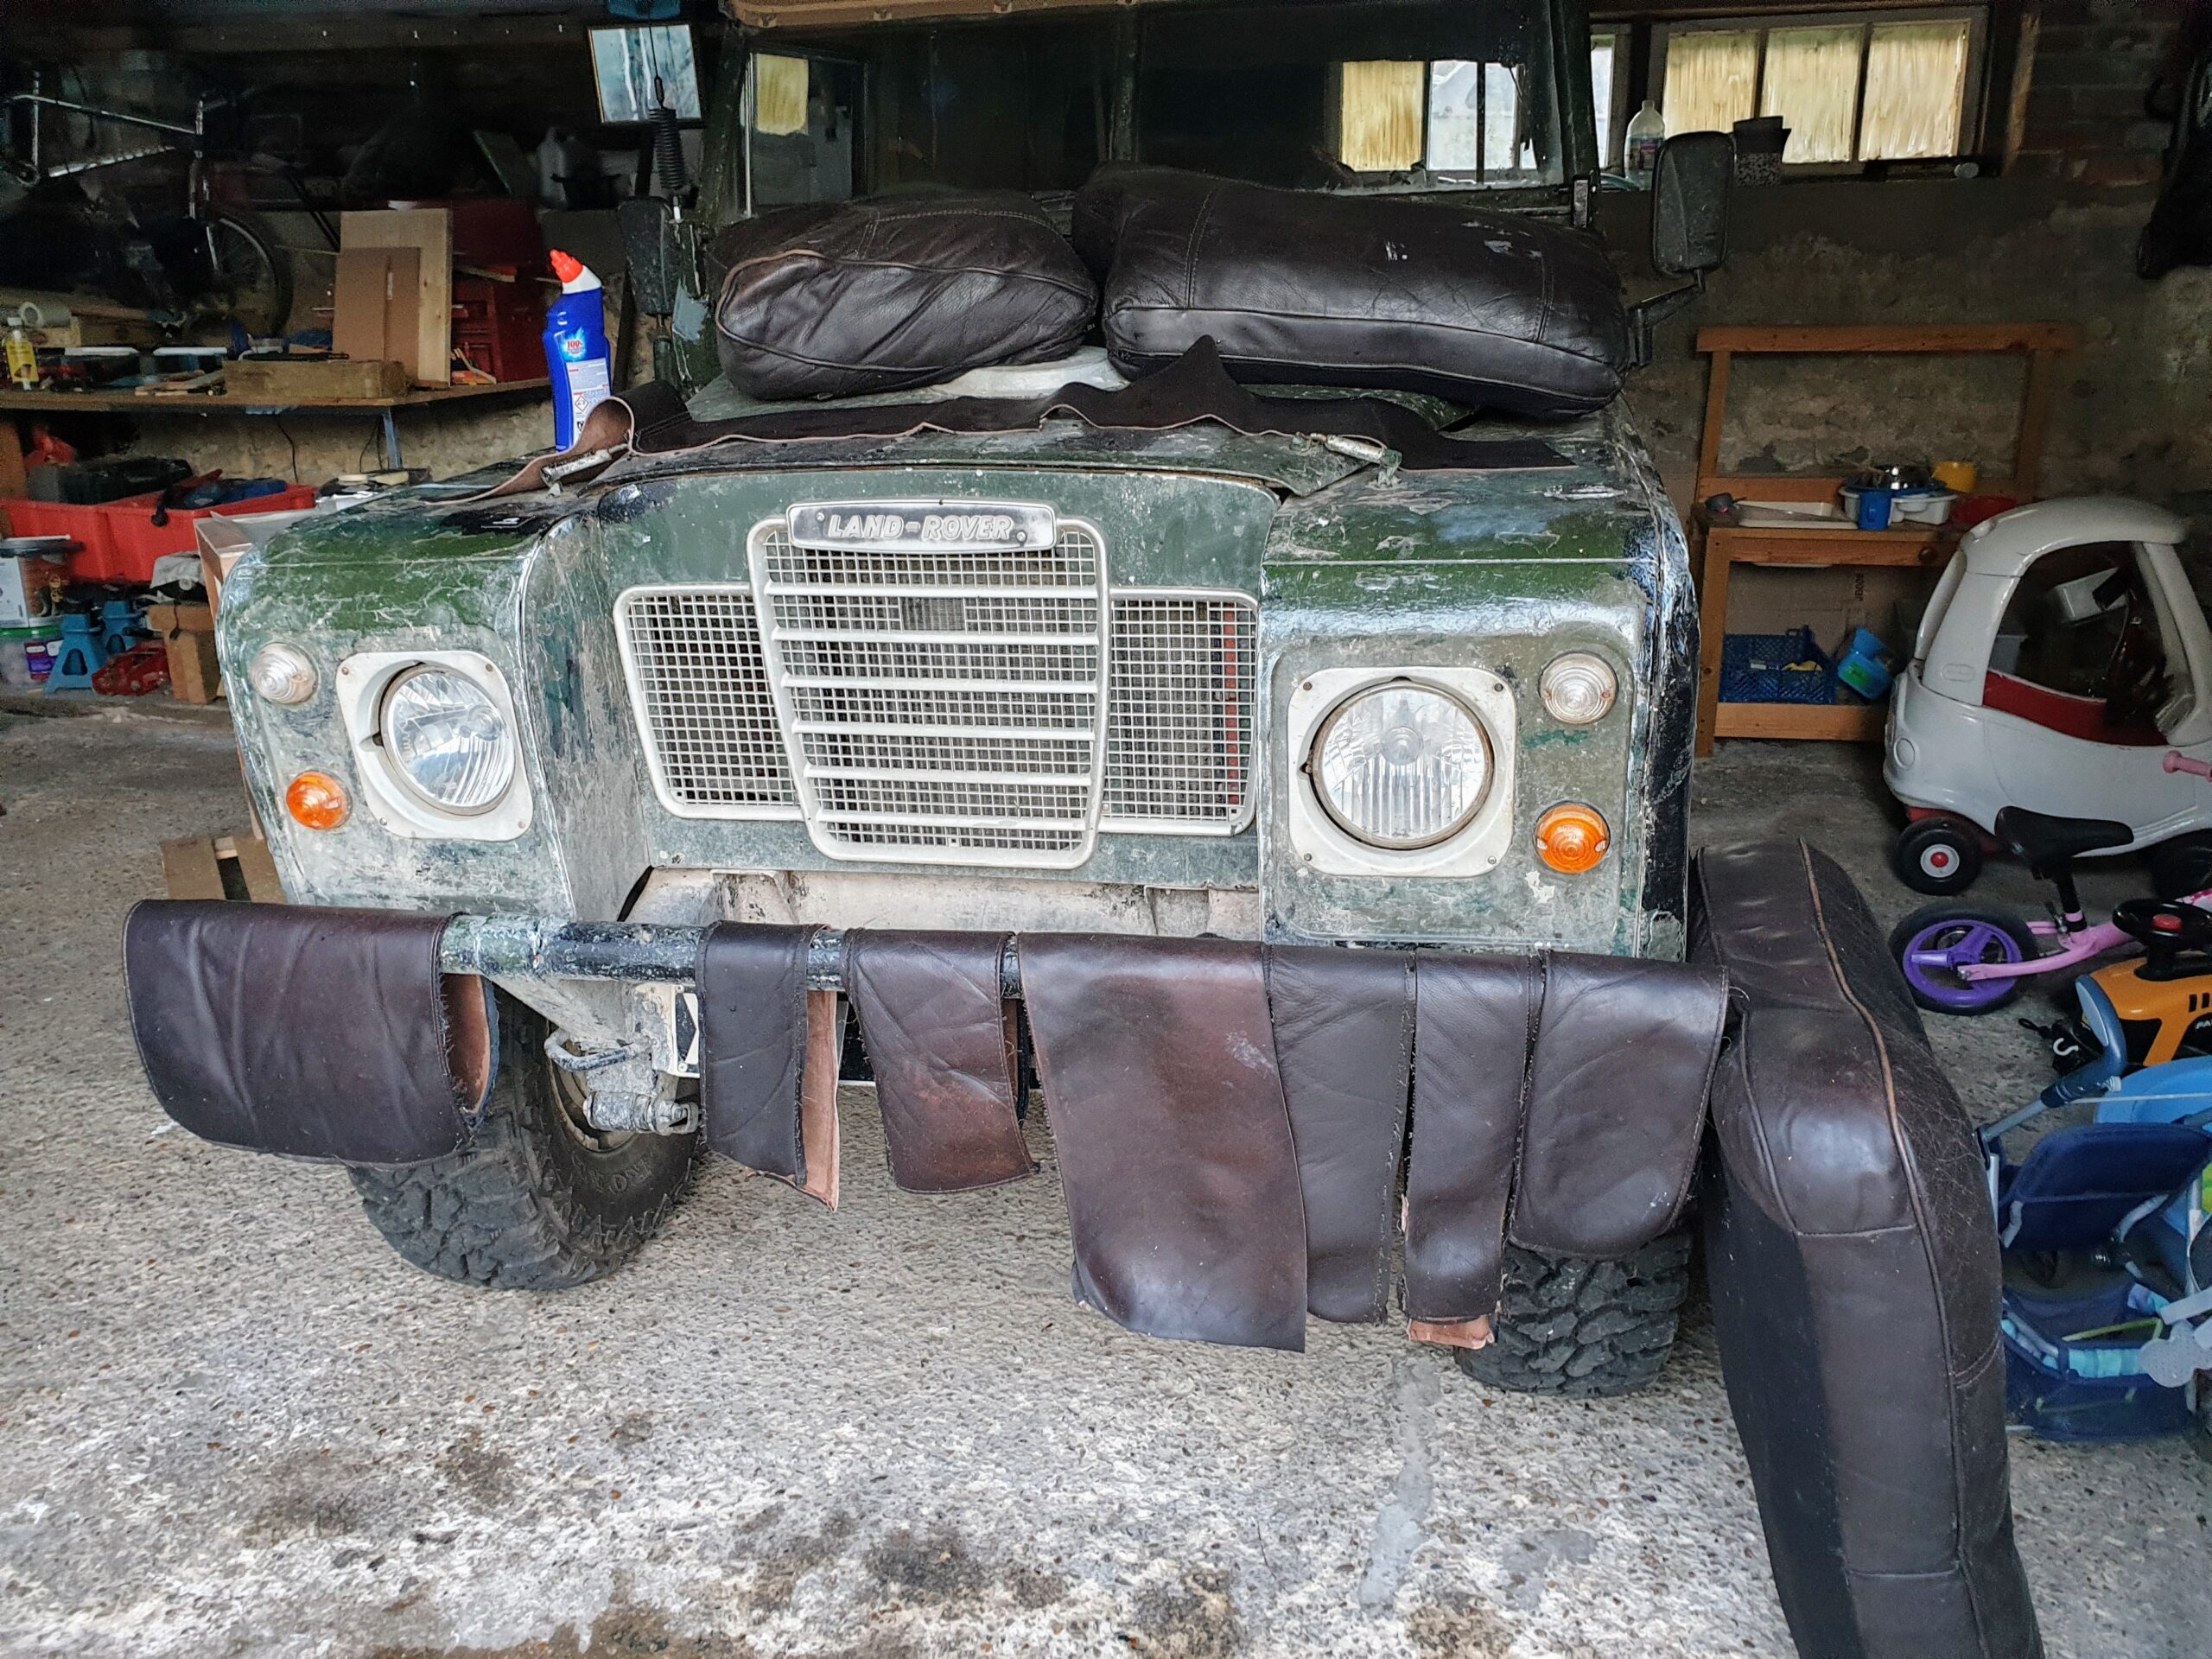
I picked up a real leather sofa (for free!) back towards the tail end of last year, I was imagining it would be a nice sitting and contemplation spot for the garage, but it went moldy. So I didn’t sit on it much, and then I decided I wanted to re-cover the Land Rover steering where. As such the sofa is being broken up for it’s raw materials. I’ll aim to keep the bulk of it, all of the leather and wood, though probably not the cushion fillings and foam. I used a dilute bleach mixture to removed the mold and have left it all to dry. I plan on covering the steering wheel first off. Then probably making a touch holder for my maglite. I may set about covering the top bit of dash too.
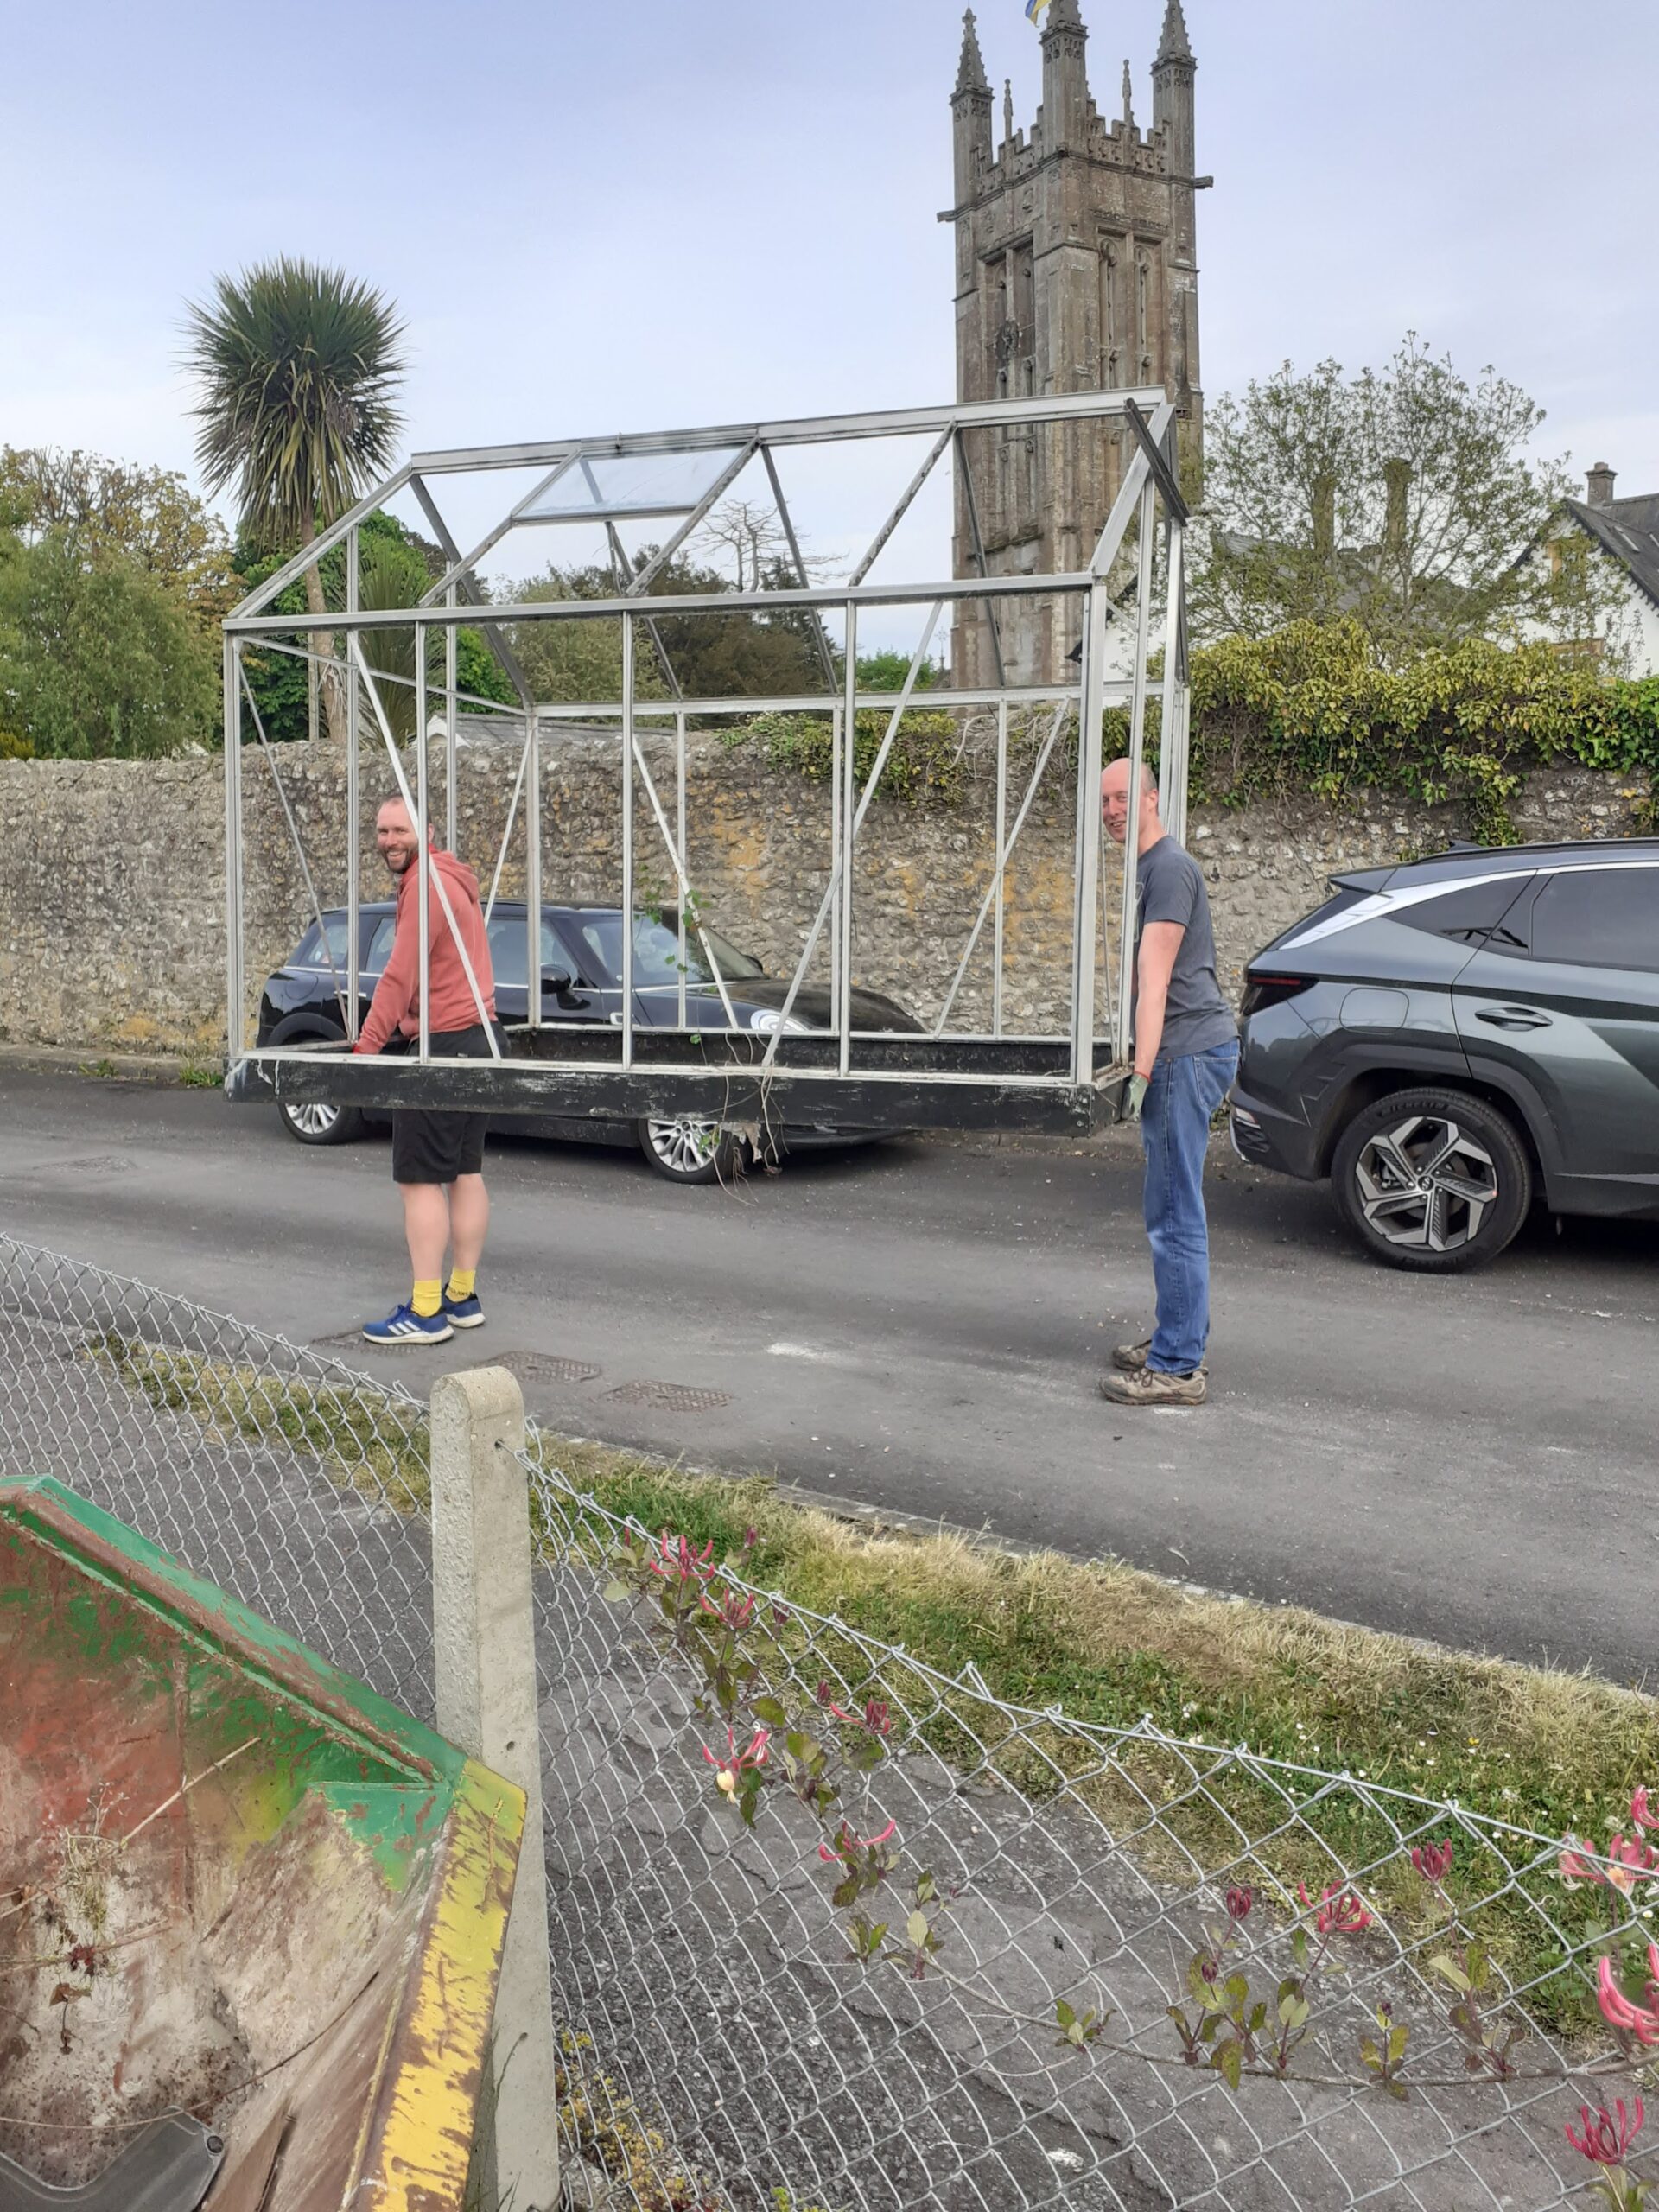
Got the green house back home today and also picked up two loads of paving slabs from within the village. We carried the green house home, out down the road through Cattistock and were luck enough not to meet a car. The Land Rover seemed well down on the springs. As you might be able to make out of the tape measure, it was about 3.5″ of difference between loaded and unloaded.
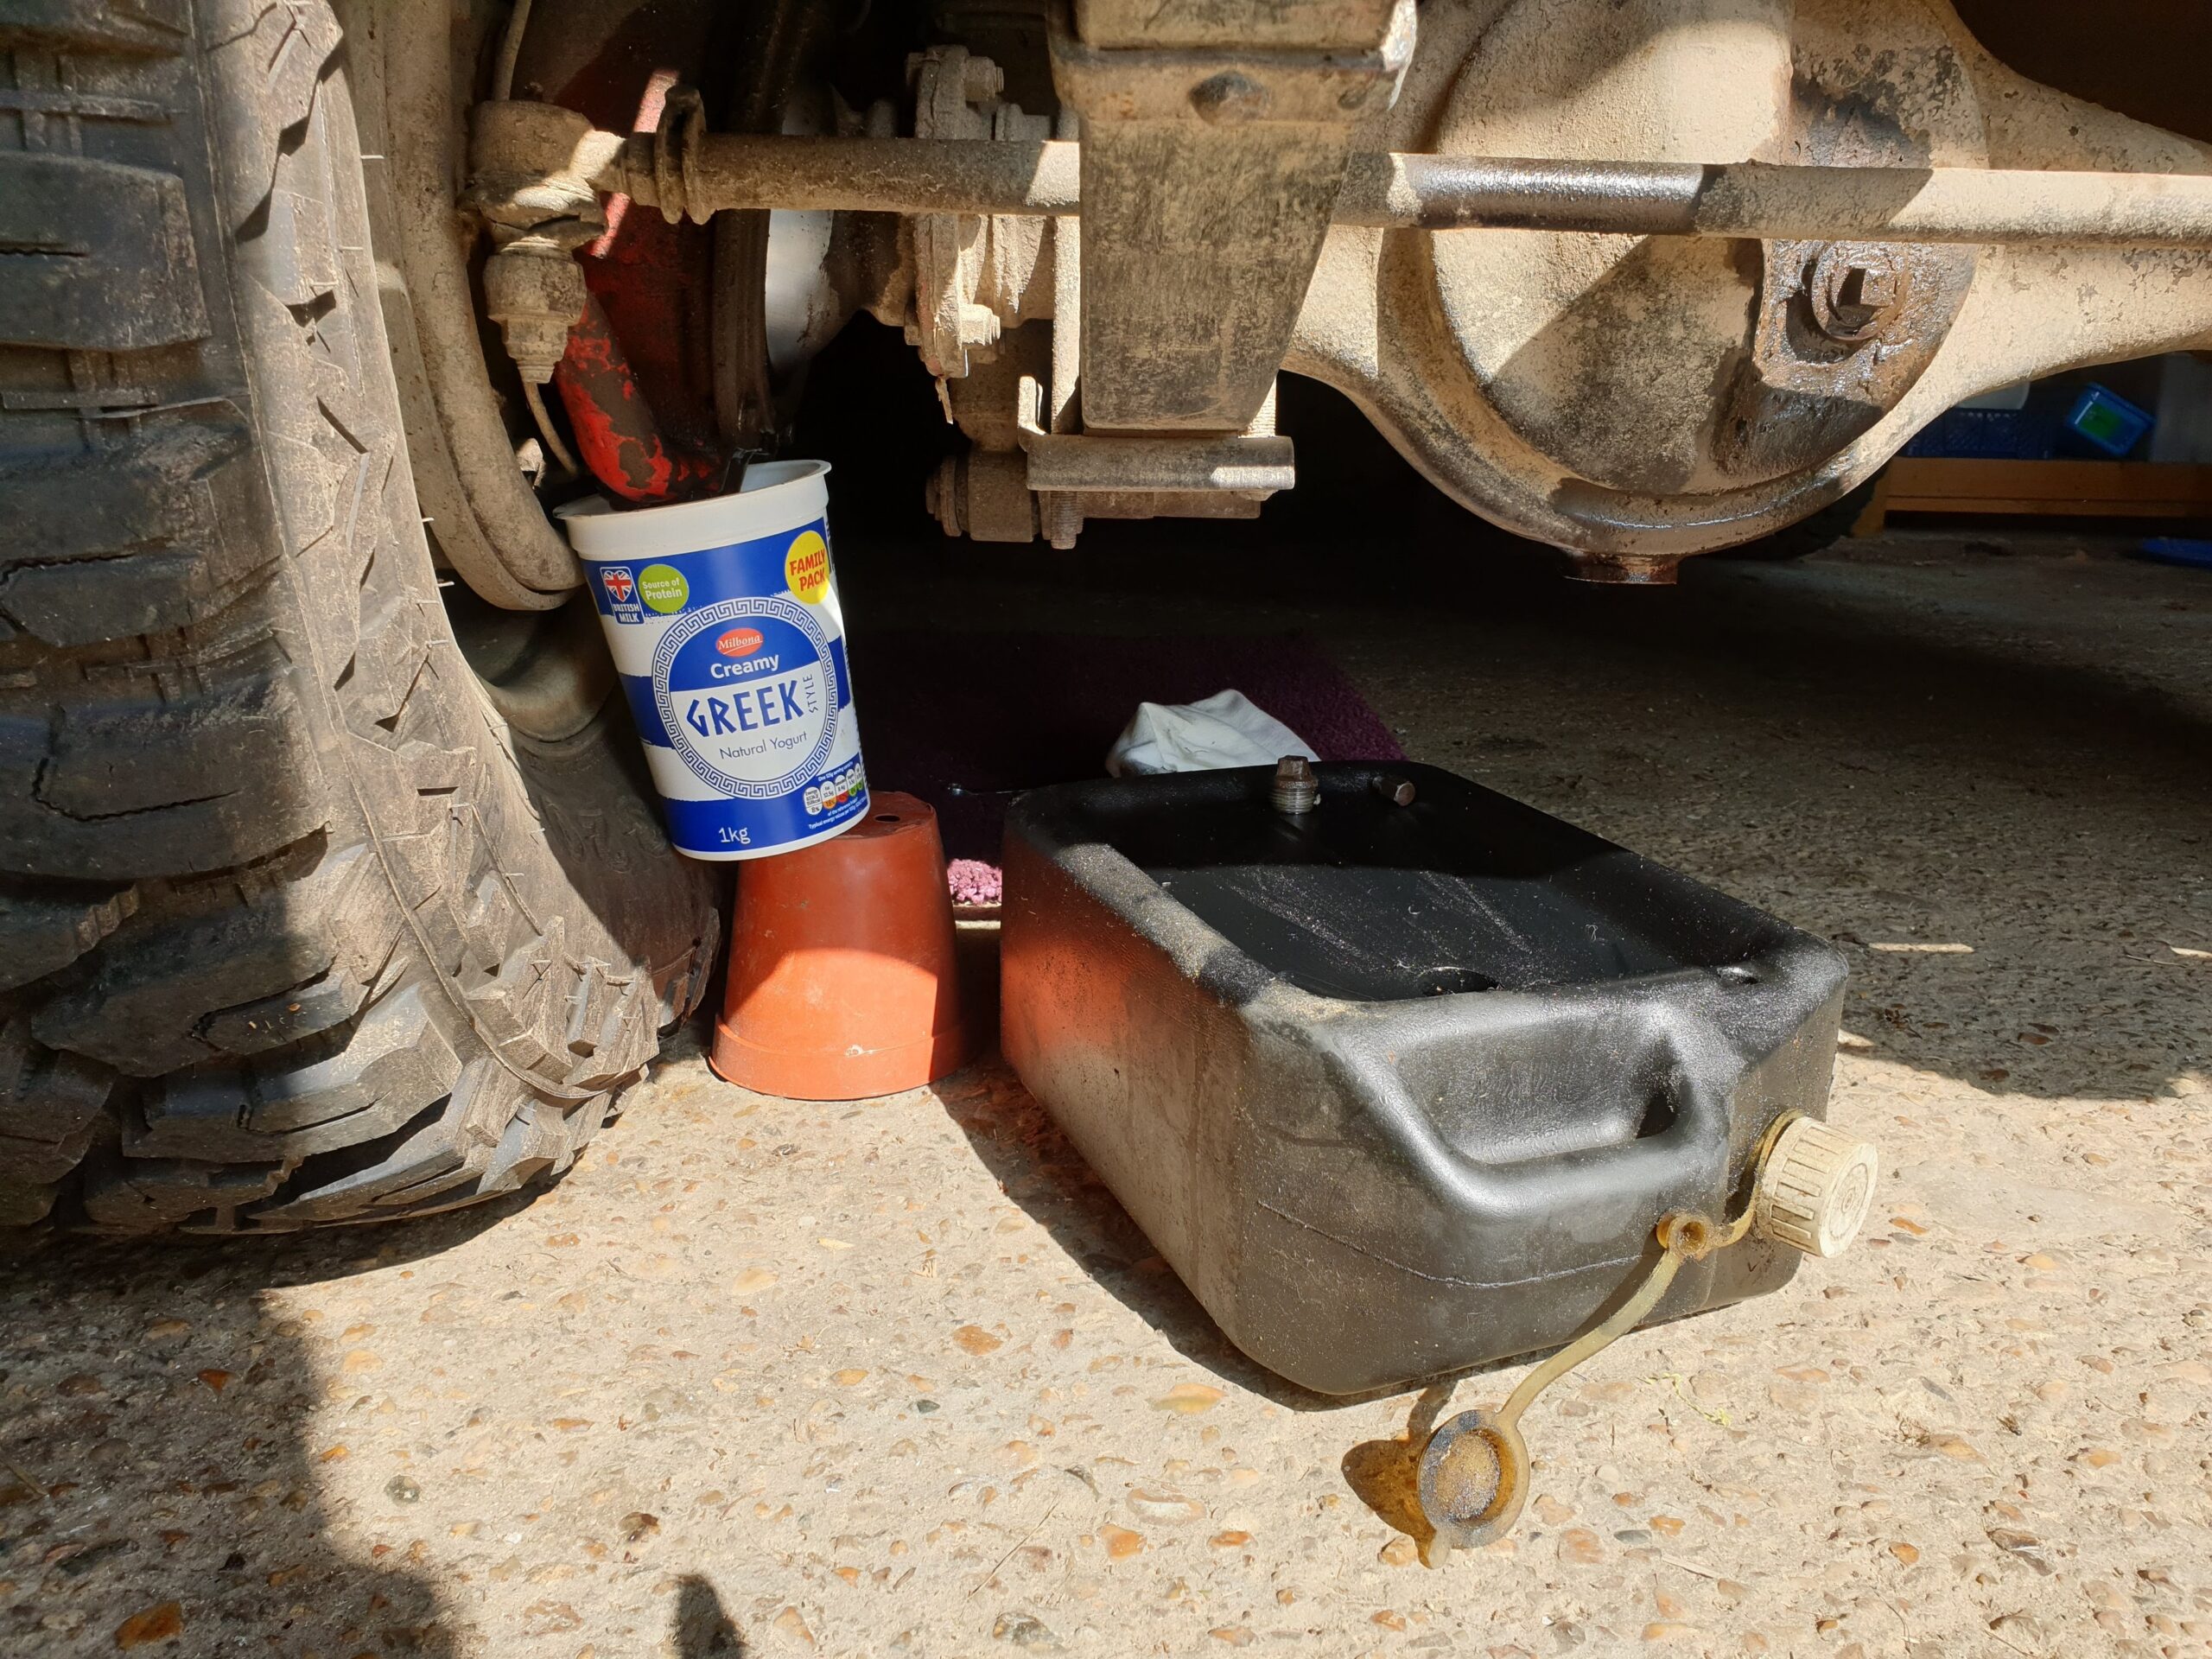
I have a very minor oil leak from someone around the swivel, probably form the swivel seal. We’re talking over the course of a week perhaps a few drips. Annoying but not a disaster, I had put new oil into the axle and swivels a year or so ago, so I will drain out the oil and replace it with “One Shot” grease, this should to be thicker and hopefully not leak out. I left the oil draining over night so as to get most of it out. Drained the oil out, it looks a little emulsified. The seal and swivel look okay, perhaps the seal is just old and failing to press against the swivel well enough. Next job is do the refill with the One Shot stuff.
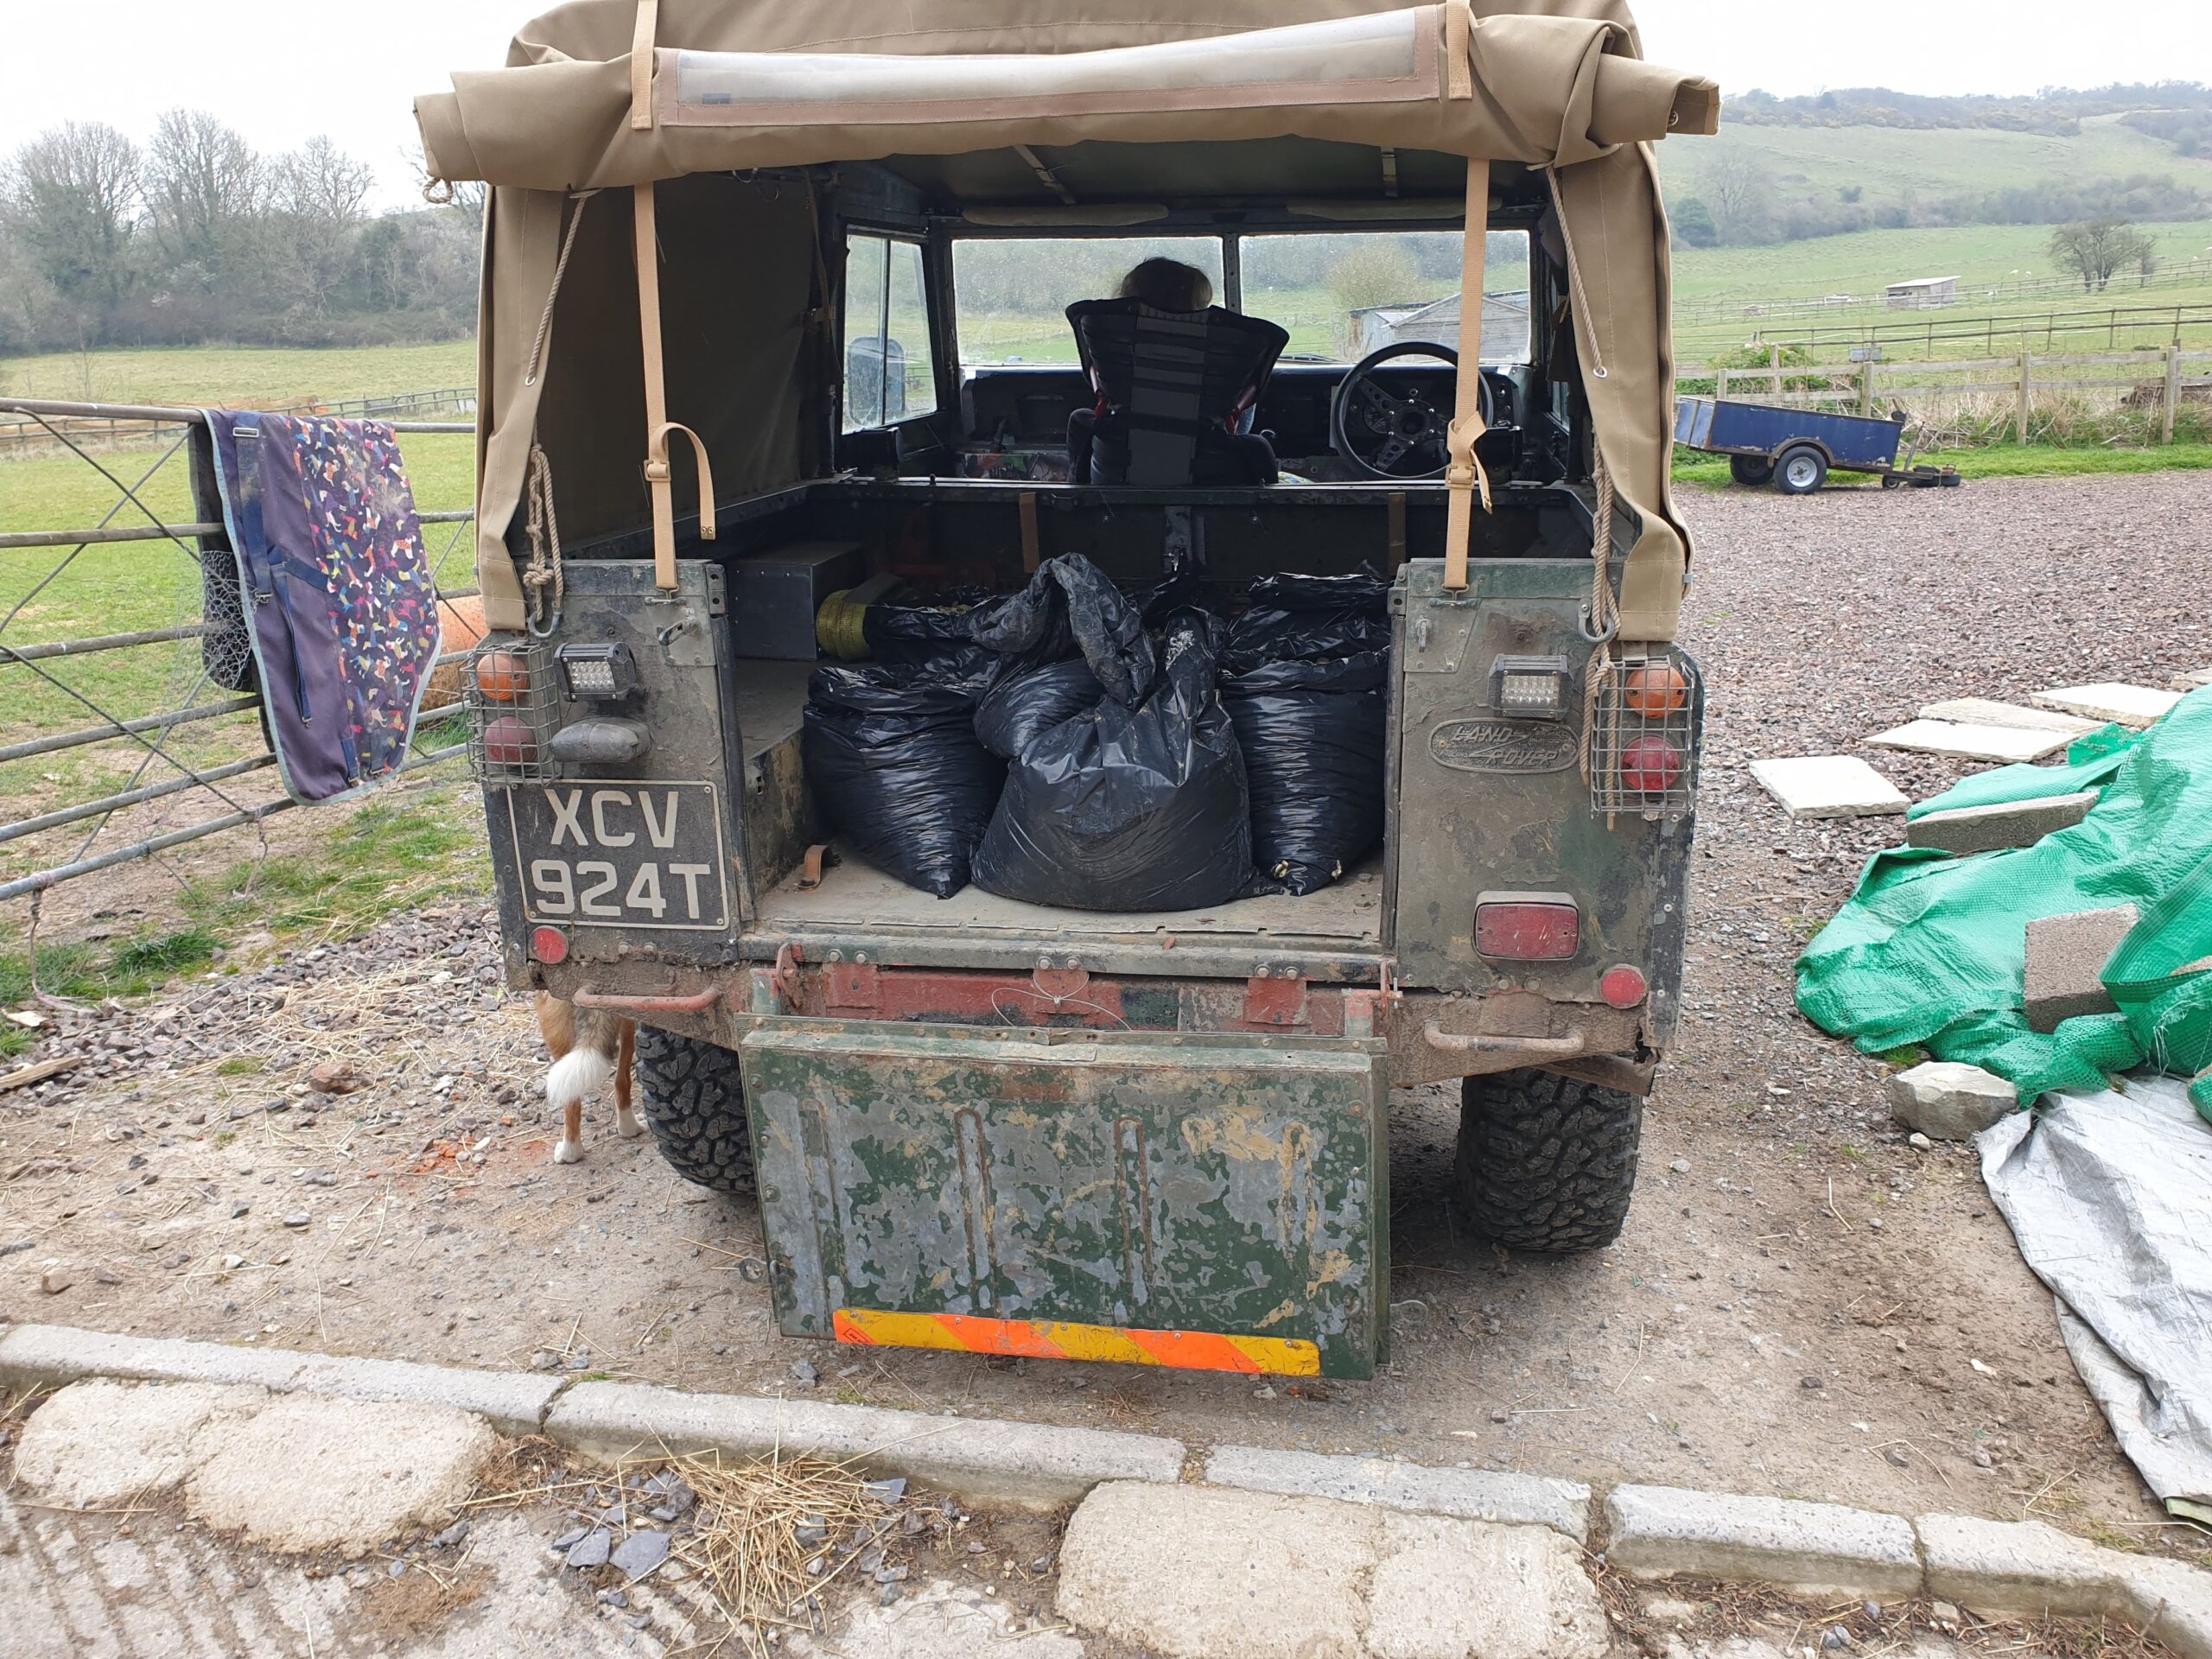
We’re taking up the gravel at the back door and planning to replace it with paving slabs. We have a lot of the gravel up, but I wanted to get shot of a fair bit, so Simon said he’d have it at his place as infill around his new house. So we spun up there in the Land Rover well laden. I forgot to get an after shot of the side of the Land Rover for comparison. We had already unloaded two bags and a lump of concrete before I took the photos, we weren’t about to put them back in just for a picture. That was 4 fingers between wheel and arch, normally I think I can fit way more than a hand in there. I guess it’s similar to the front arch when unladen. There were about 8 gravel bags, I would think each weighing about 25 kg, […]
I decided to make up an end bit for the top part of the dash last night, this hole should have a plastic bit over it: So I made up a paper template: Found some nice second hand aluminium and having drawn around the pattern twice, once right side up and once right side down for the other end.. Then using the vice and a small hammer: Took about 45 minutes to fabricoble that together. Not bad eh? Just need to do the other side now.
I had bought this switch for something, though I don’t remember what. So I thought that since the reversing lights are very bright and I do not need to go driving about with them on accidentally, that I should use this switch to give me some feed back. Also the reversing lights serve as work lights, so they do not go off when the ignition goes off, as I might accidentally leave then on if I’m not looking.




Recent Comments