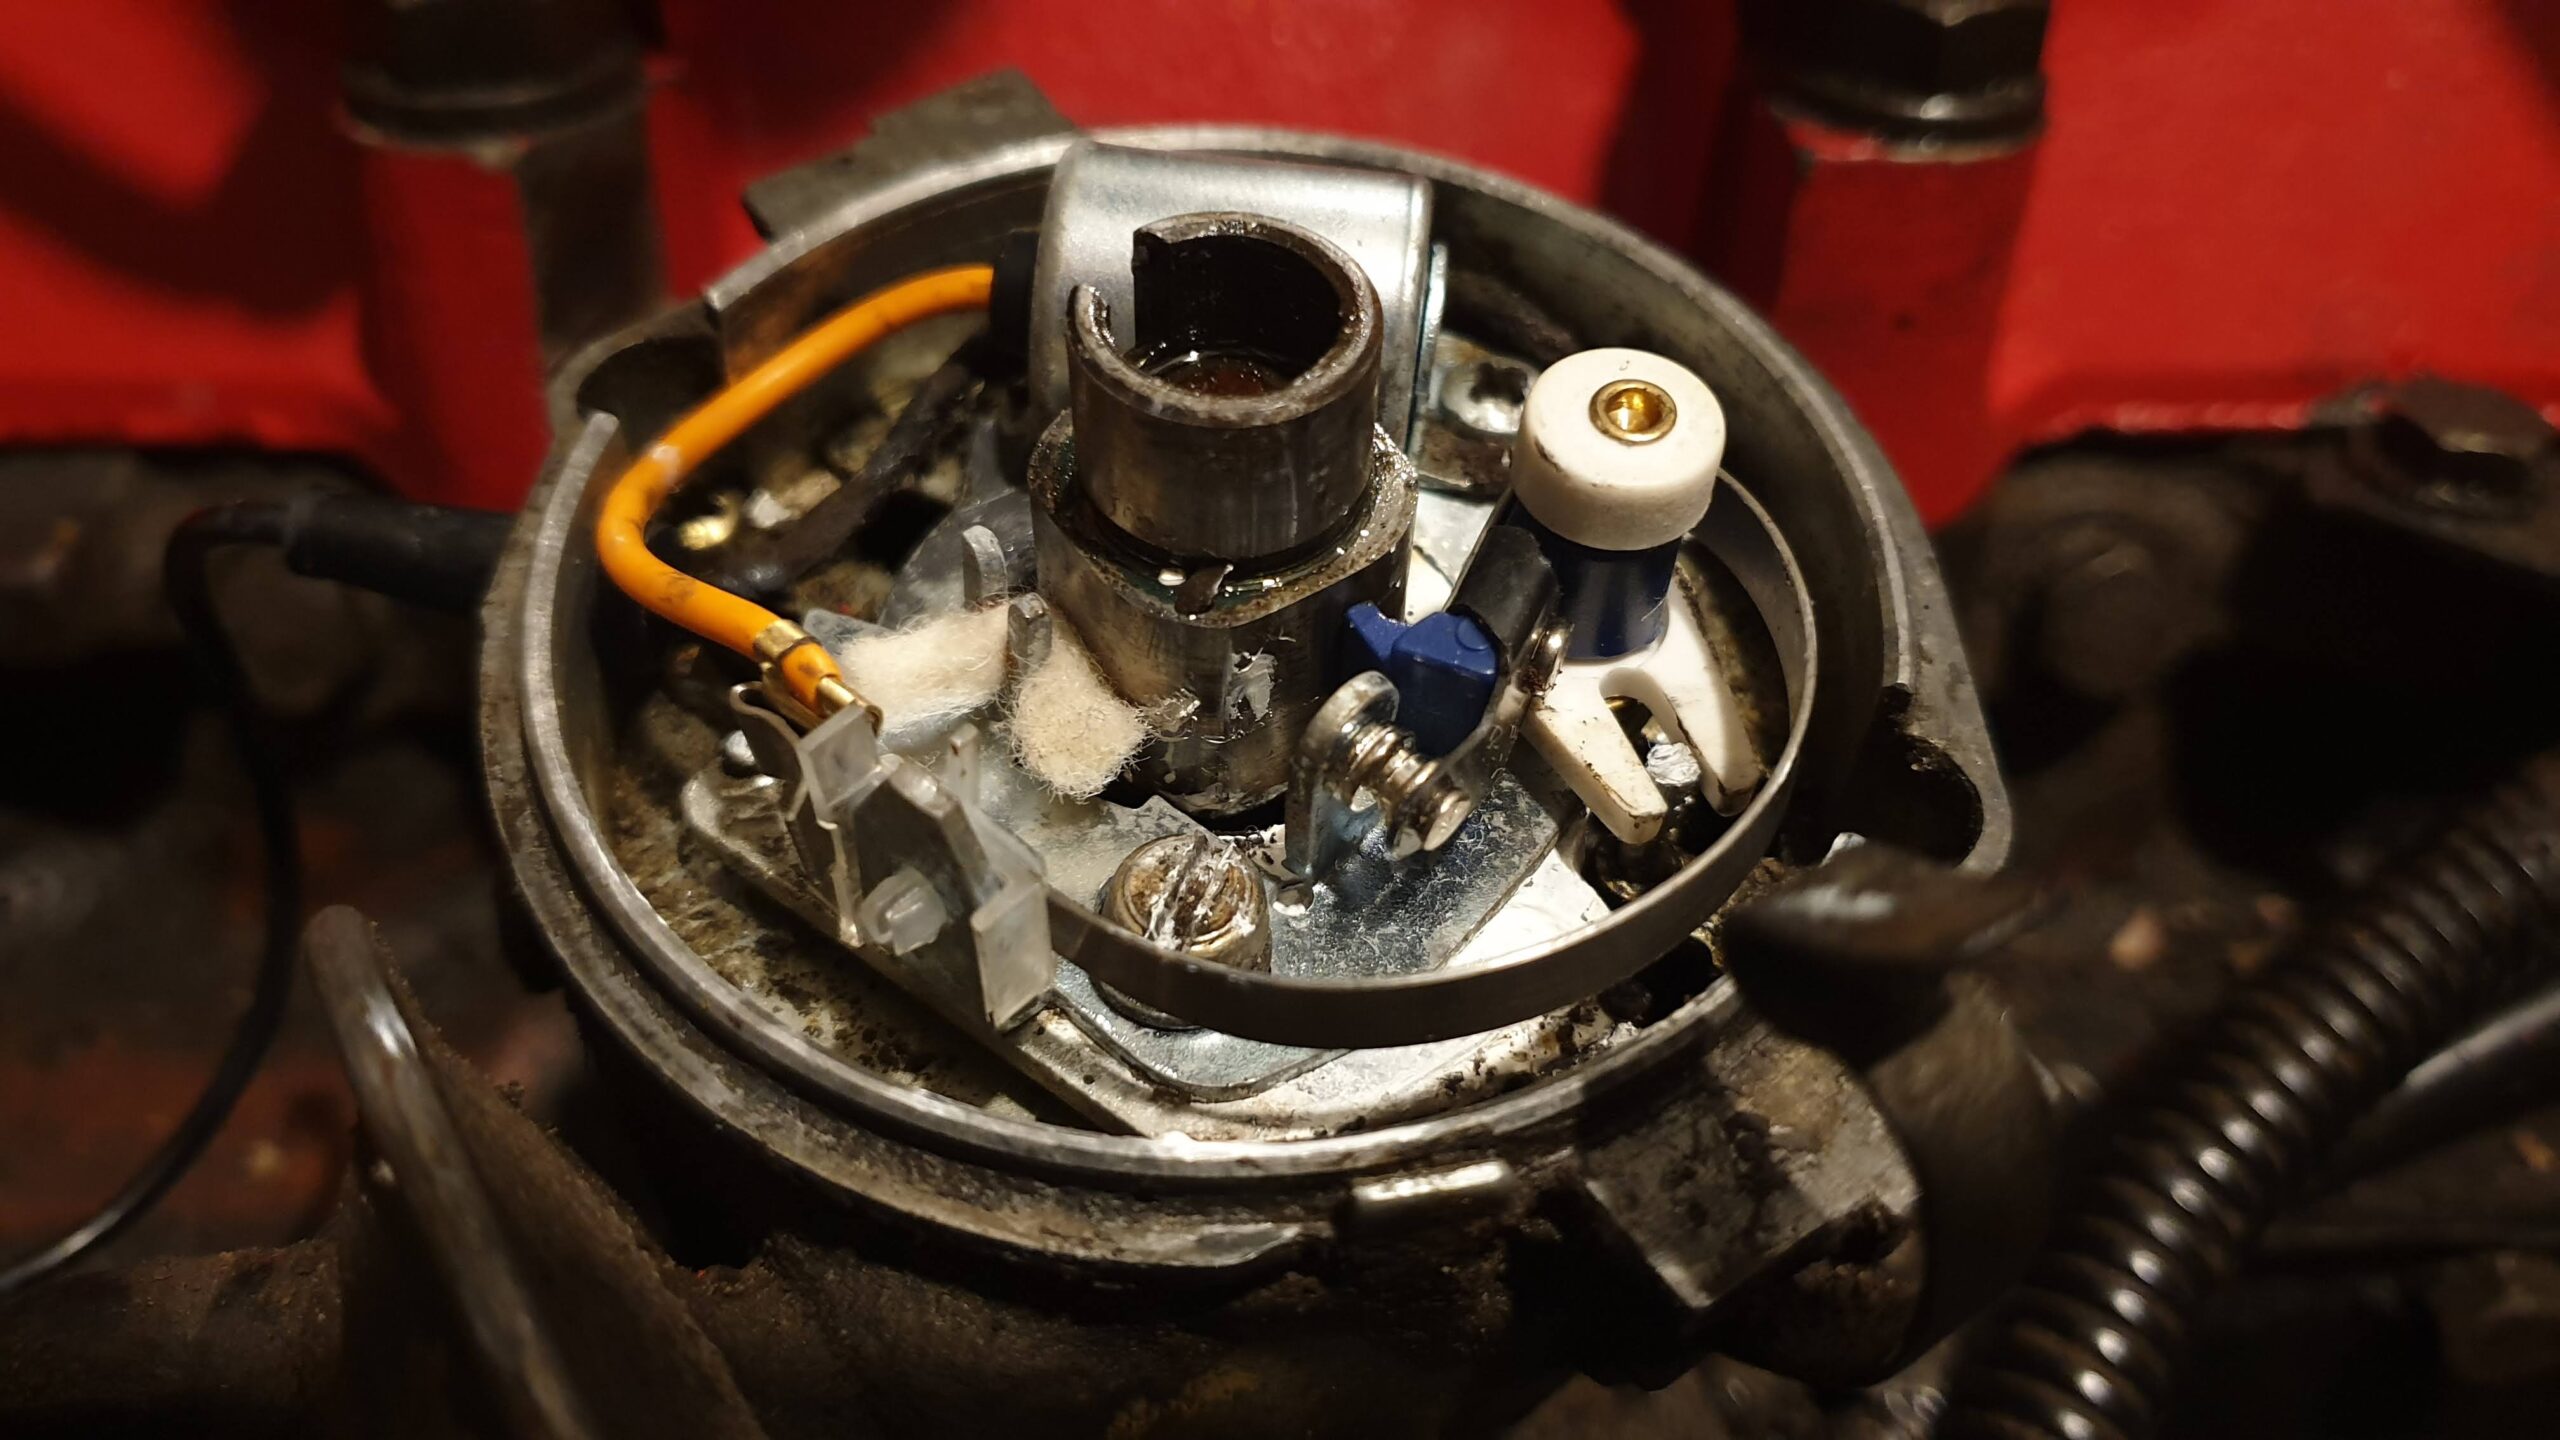
Out with the new and in with the old, or perhaps i should say, out with the modern and in with the original. I’m currently of the thinking that the electronic ignition set up the cause of all this fuss. The kits doesn’t have a great name for reliability. I have become aware of this since going that route and am now perhaps experiencing this issue first hand. First off I brought the Land Rover into the garage soaking wet. Then I dried the drivers side wing so that I could lean on it without getting wet. Fired it up and it ran, so nothing was disaterously wrong, now it just needs a road test. Although before I do that, I shall buy and fit a new coil, just to be certain. Also I think the coil I have installed to designed to match the electrionic ignition system, and I […]
There was still a little dribble of coolant coming from the same place. I’ve decided that my torque wrench is probably inaccurate, so i tightened all the bolts more. Hopefully this has done the trick. All taken at different times during the course of messing about out in garage.
Found another coolant leak.. Pulled all the plugs so that I could access the row of bolts down that edge of the head. Pulled the rocker cover off also and checked them all. They’re all at 120 Nm now. Fingers crossed. Next it’ll be a test run and recheck..
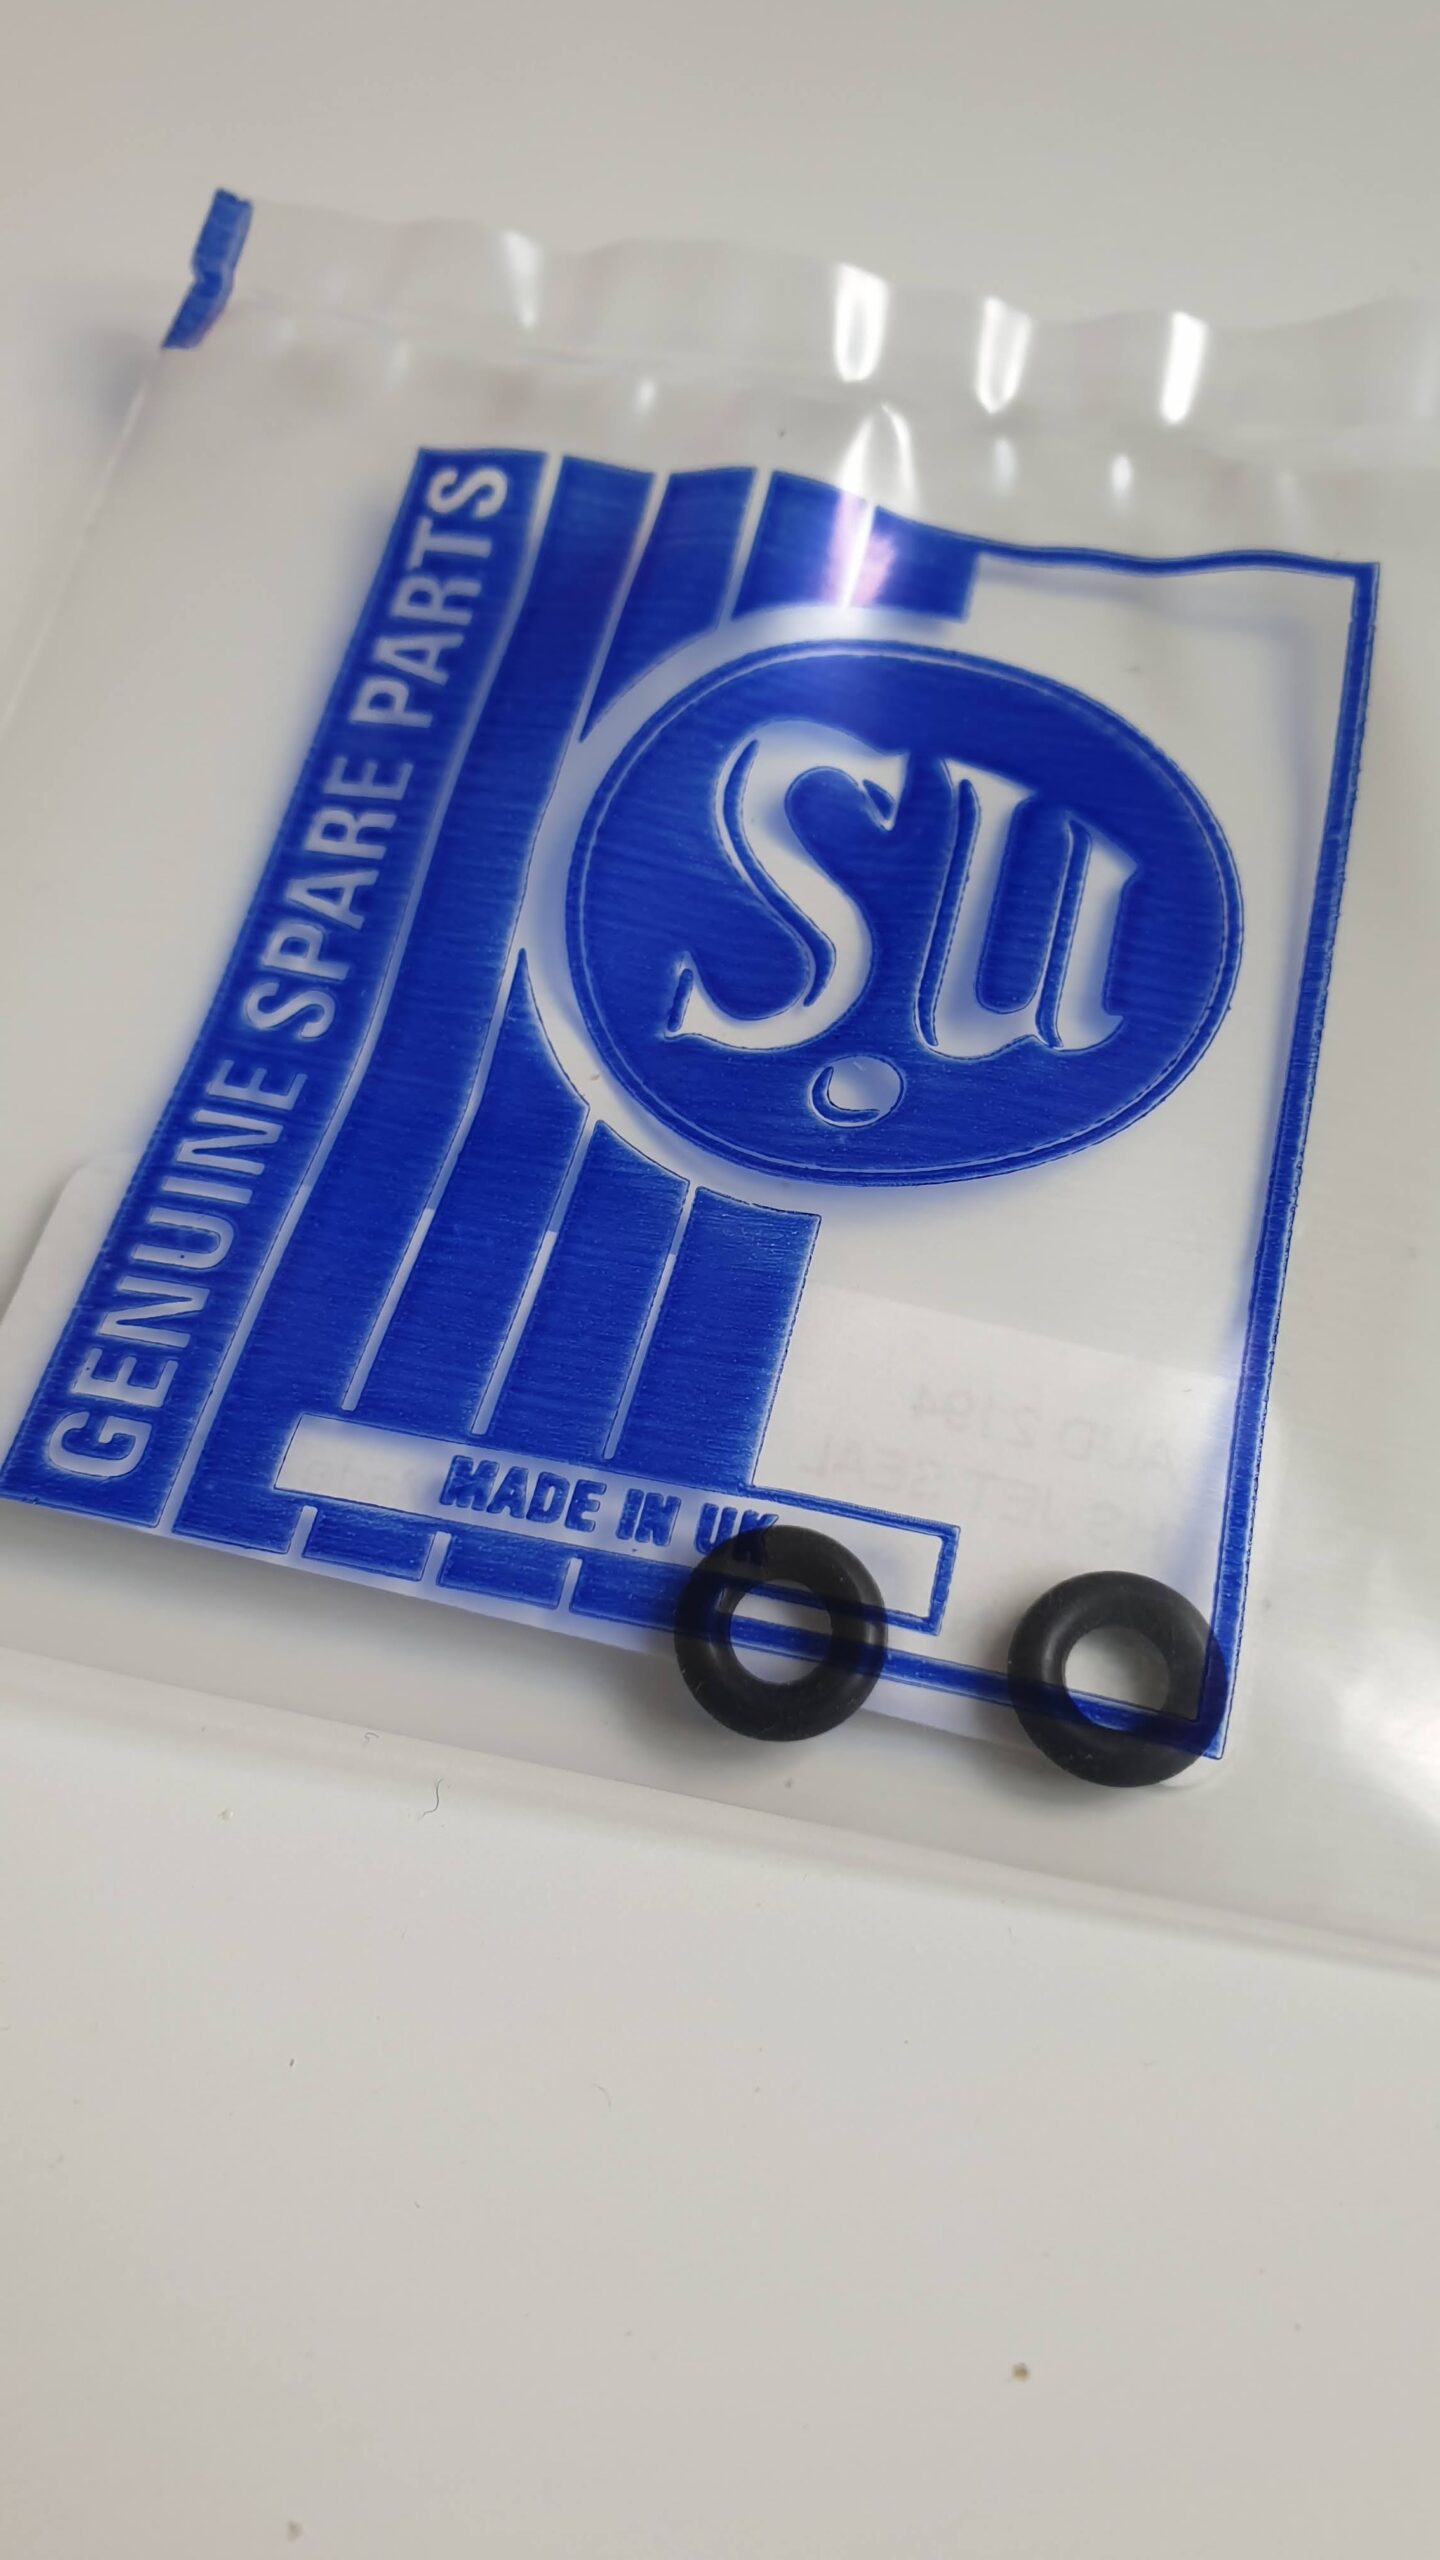
I had a fuel leak caused by a damaged O-ring, so ordered two more right from SU themselves. Fitted it last night and now I have running Land Rover, short of any coolant/antifreeze, so can’t test it yet. I did fire it up to confirm that it will start and idle, but only briefly.

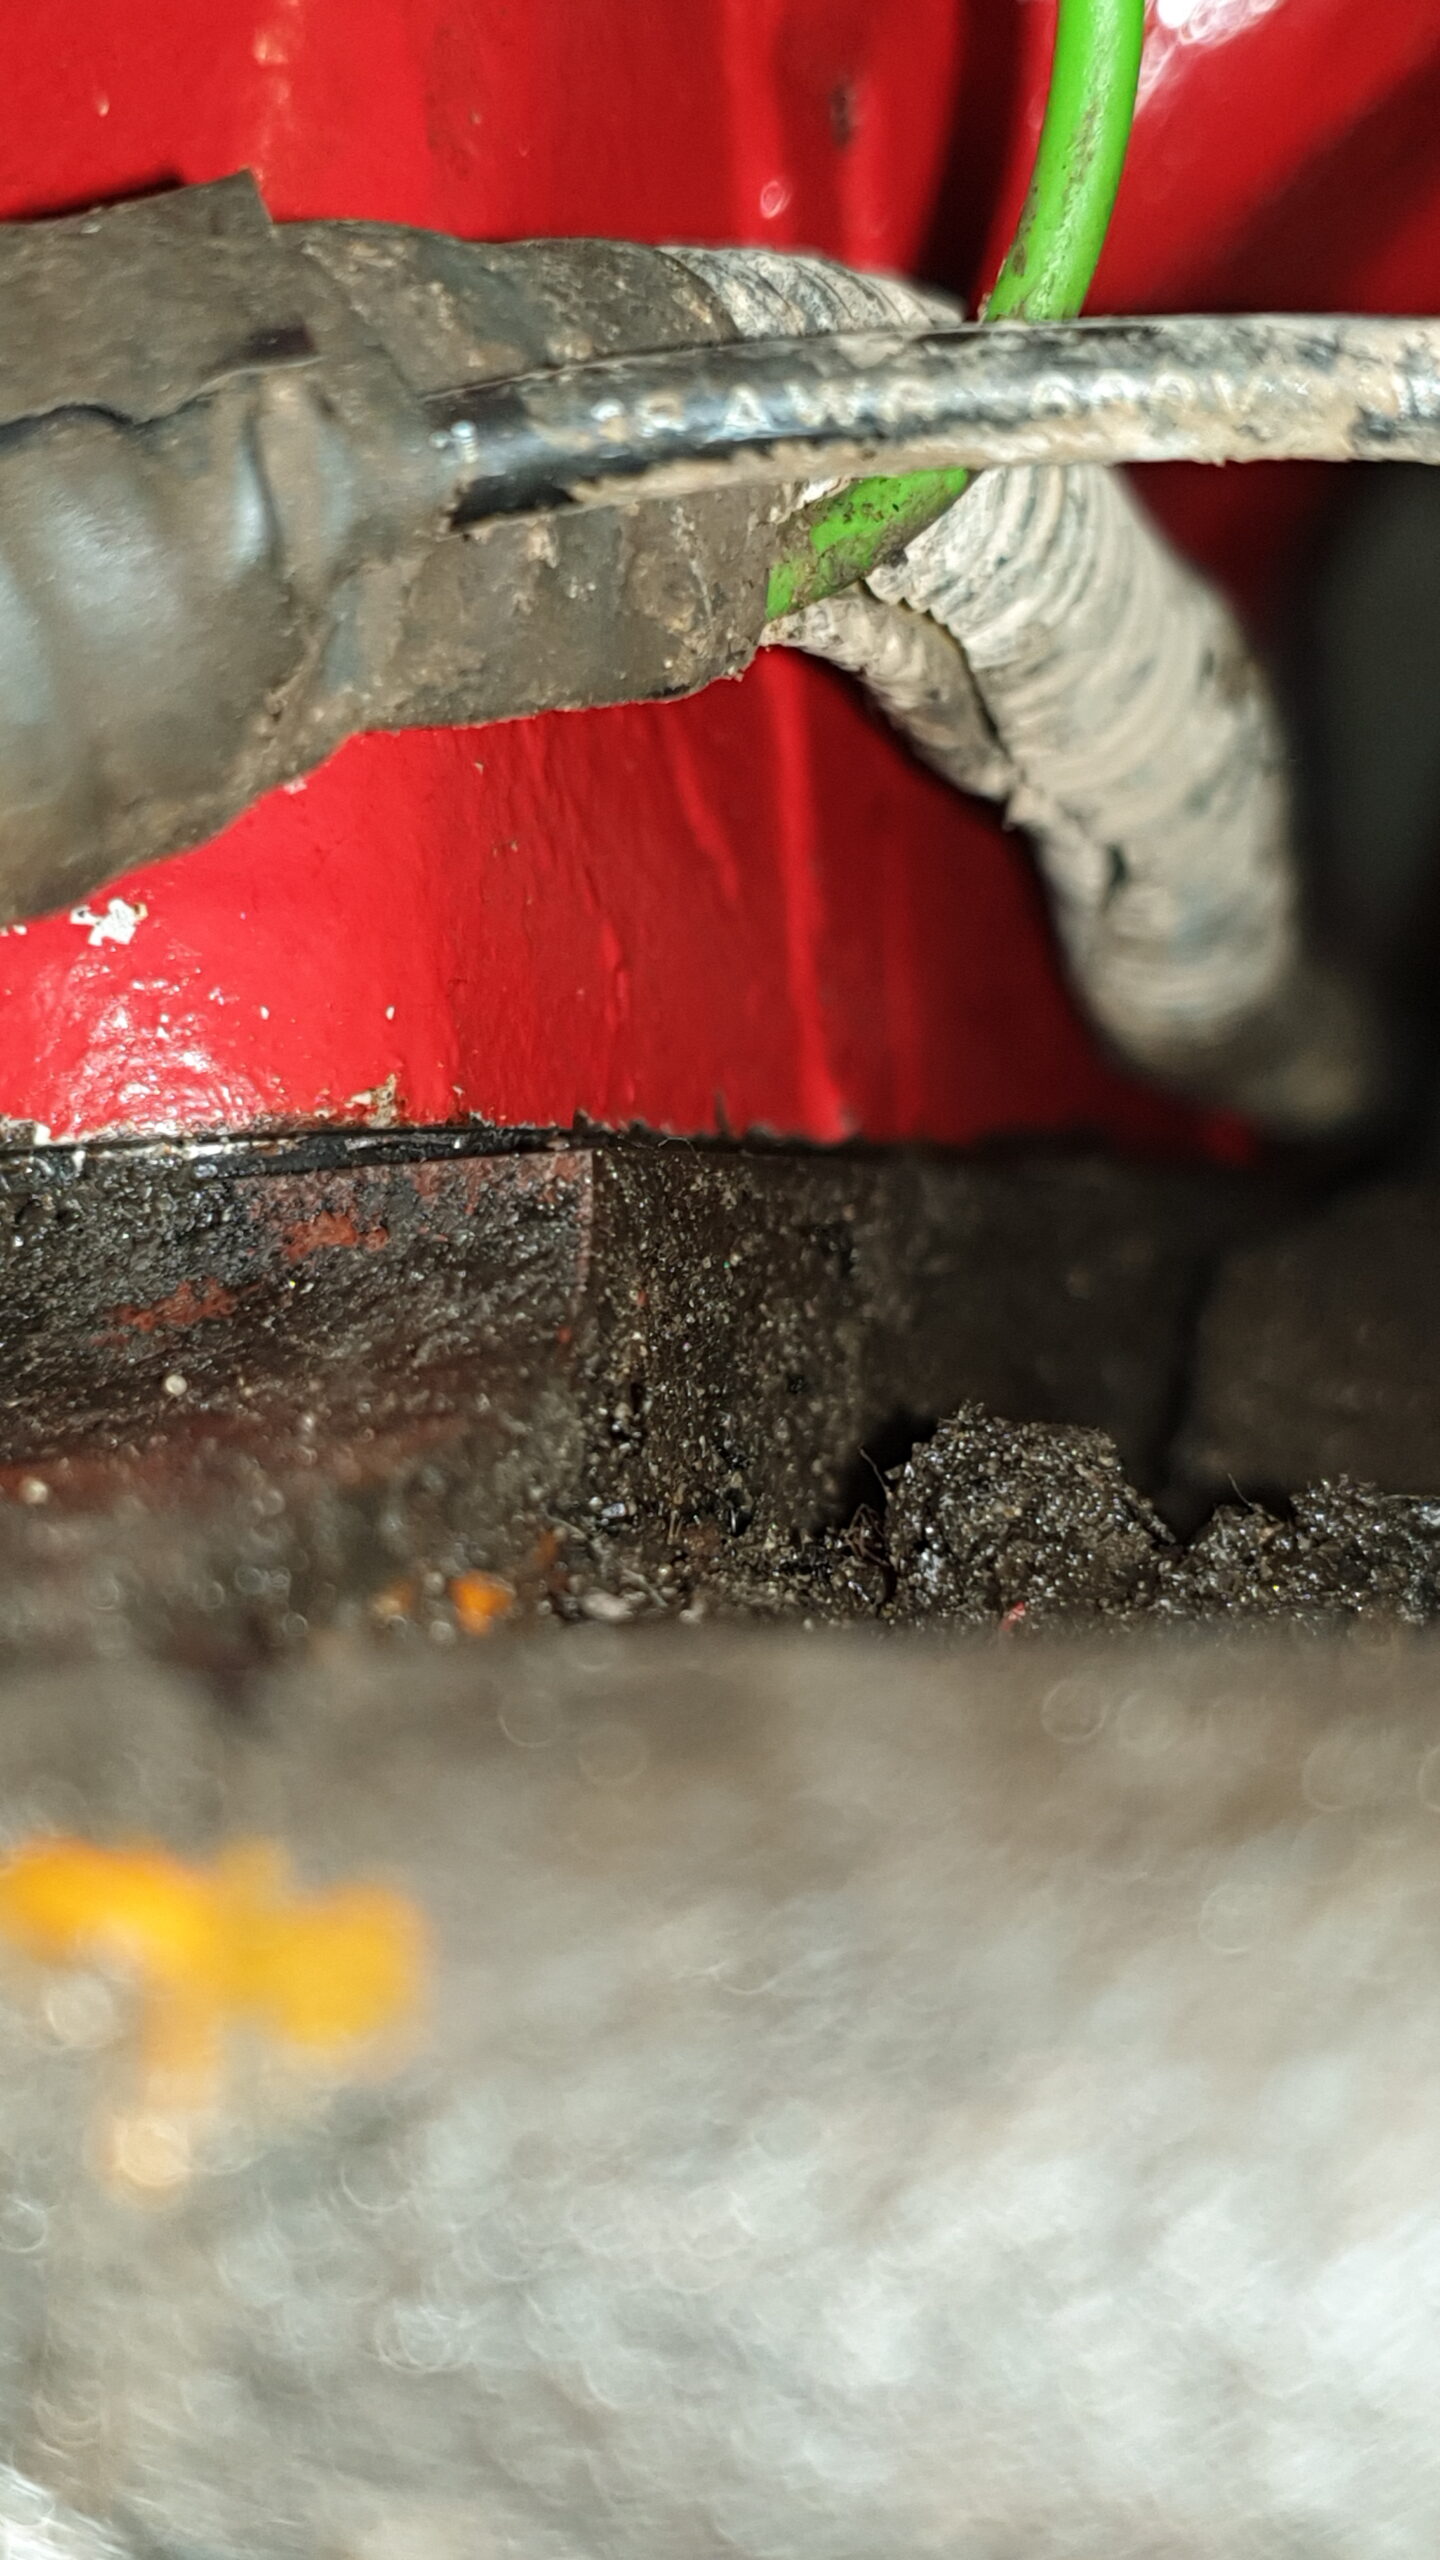
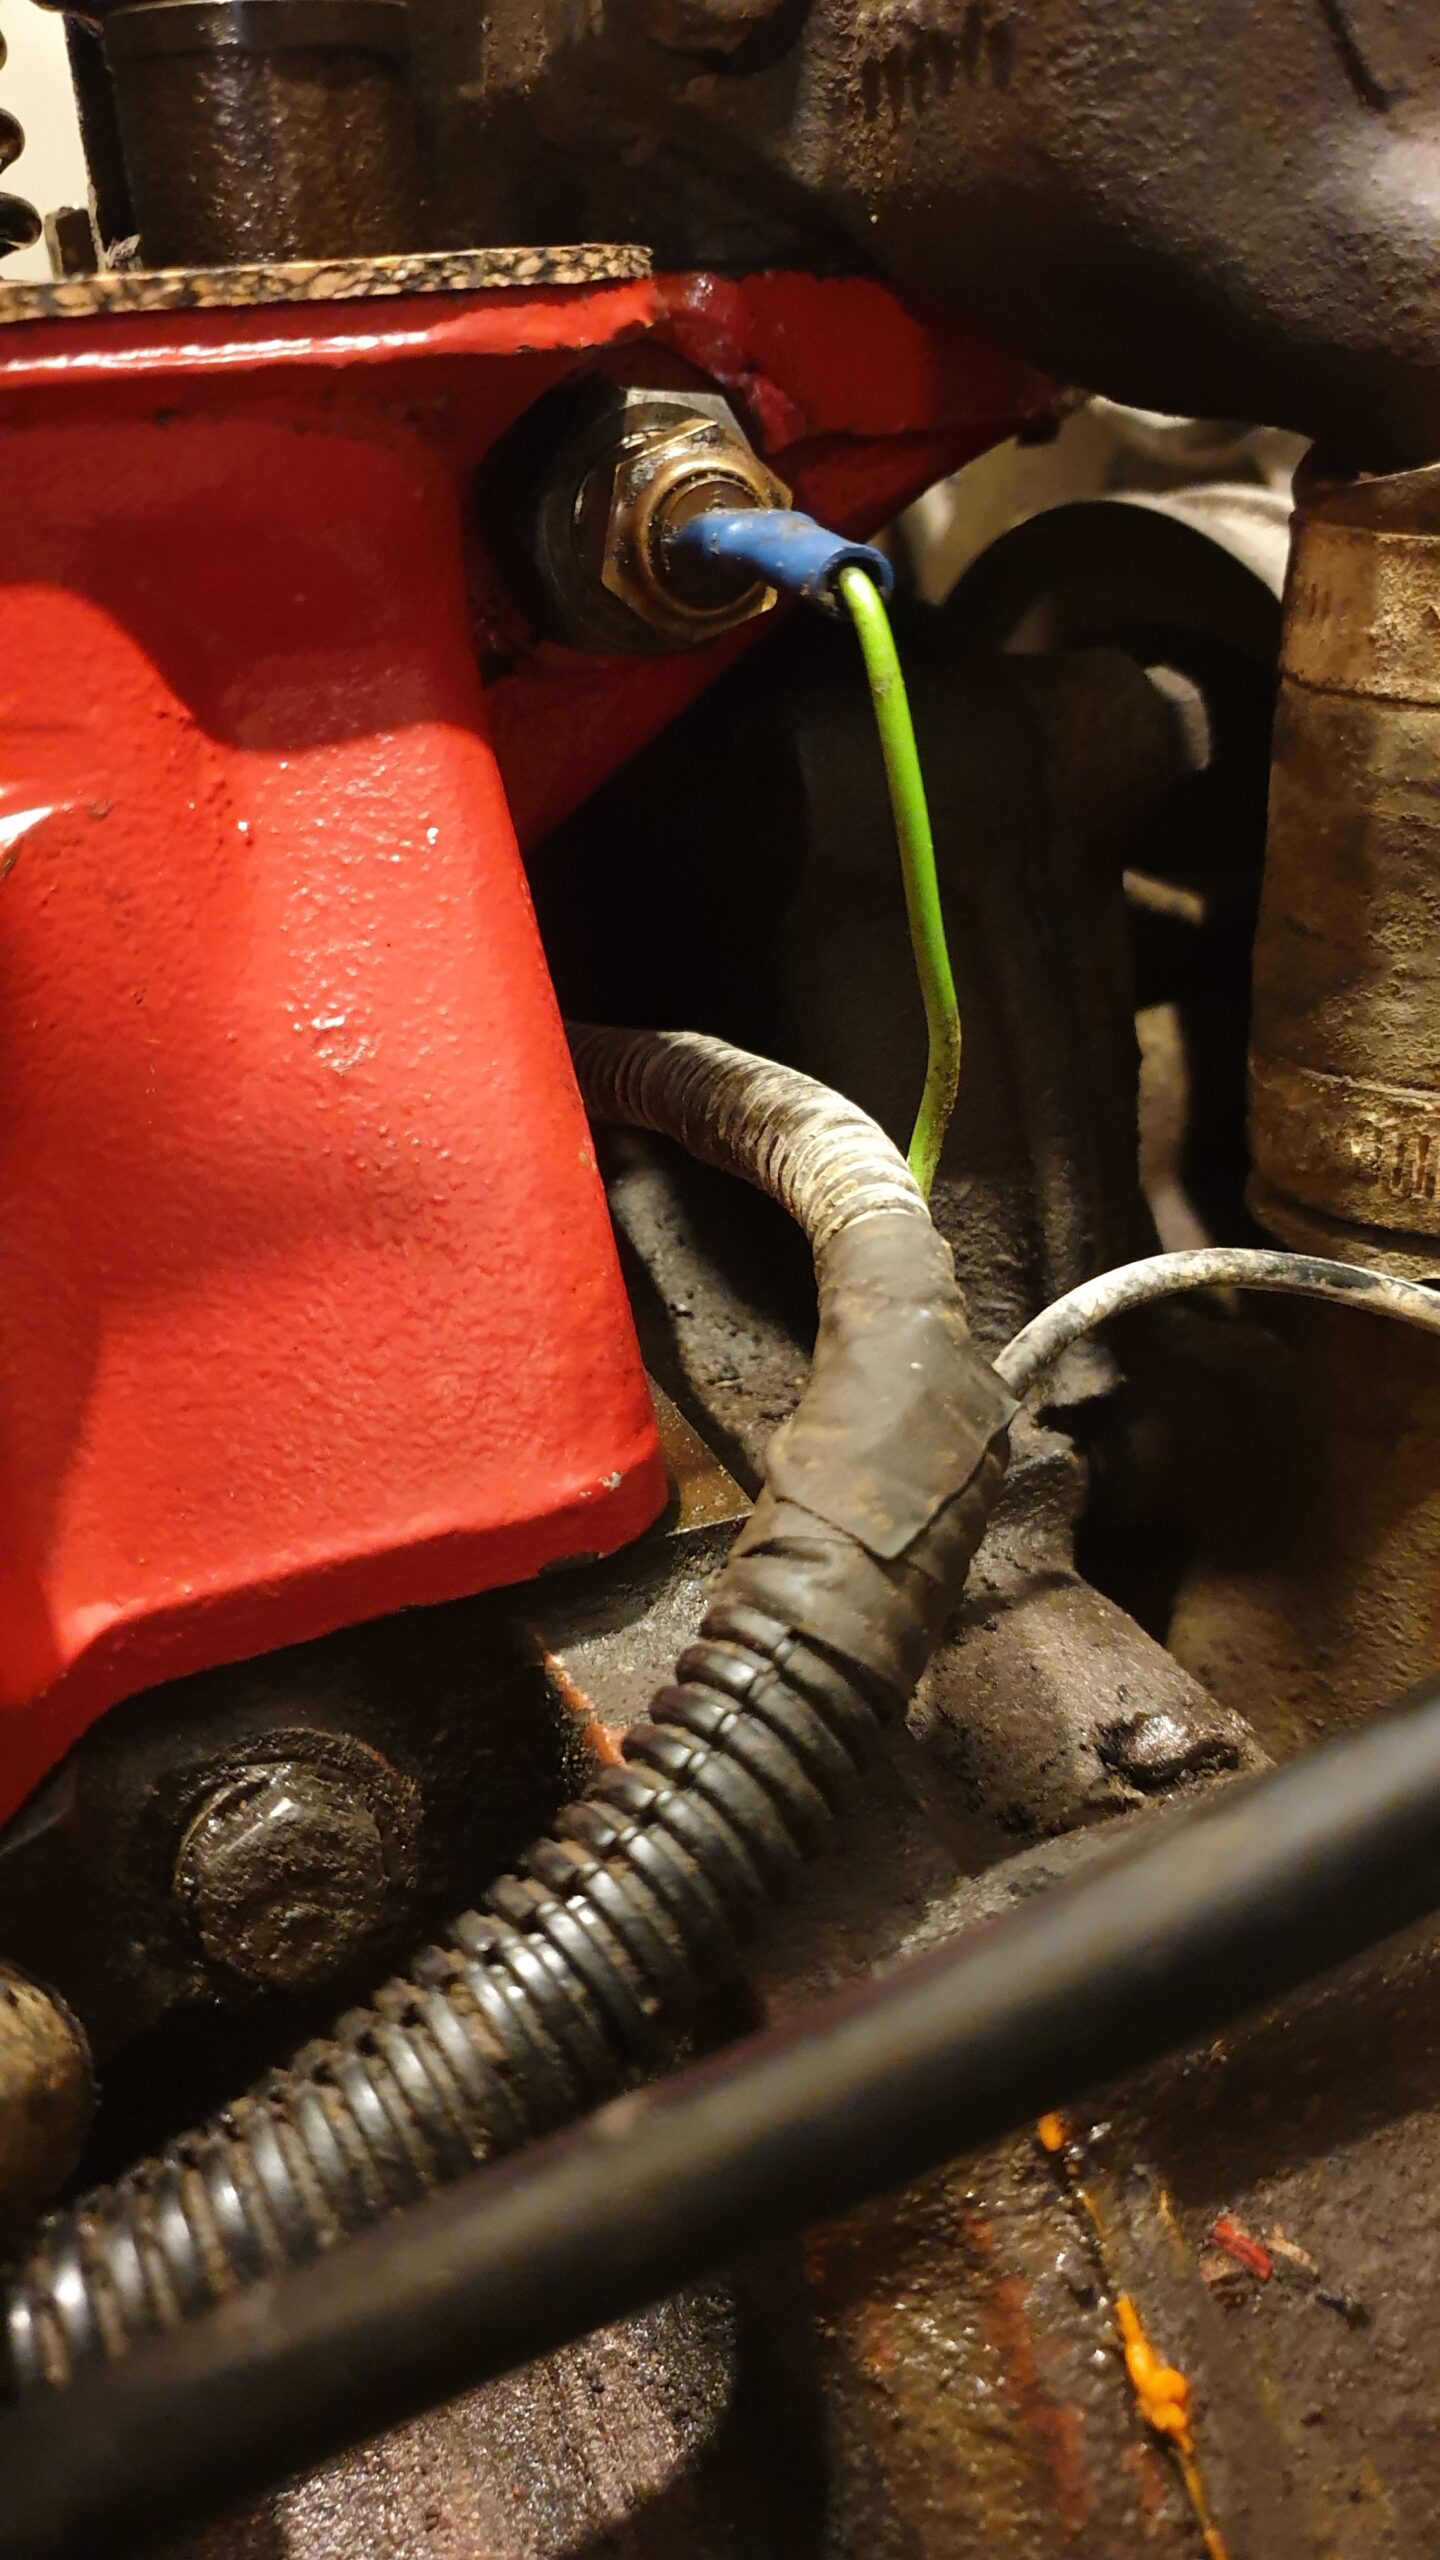
Valve clearances done, that bit wasn’t too bad, i did have help, a friend did the engine turning bit using a ratchet on the crank and i did the clearances. Having done that i then tried to stop the fuel leak on the float bowl hose to the jet. But it turned out that the rubber washer was badly cut. I’ve now got another on order. Also found a fuel leak on the discharge hose from the fuel pump. Fixed that easily by tightening it. The left hand imagen shows the hose curved from the brass nut at the top middle of the photo. This connection is the issue.
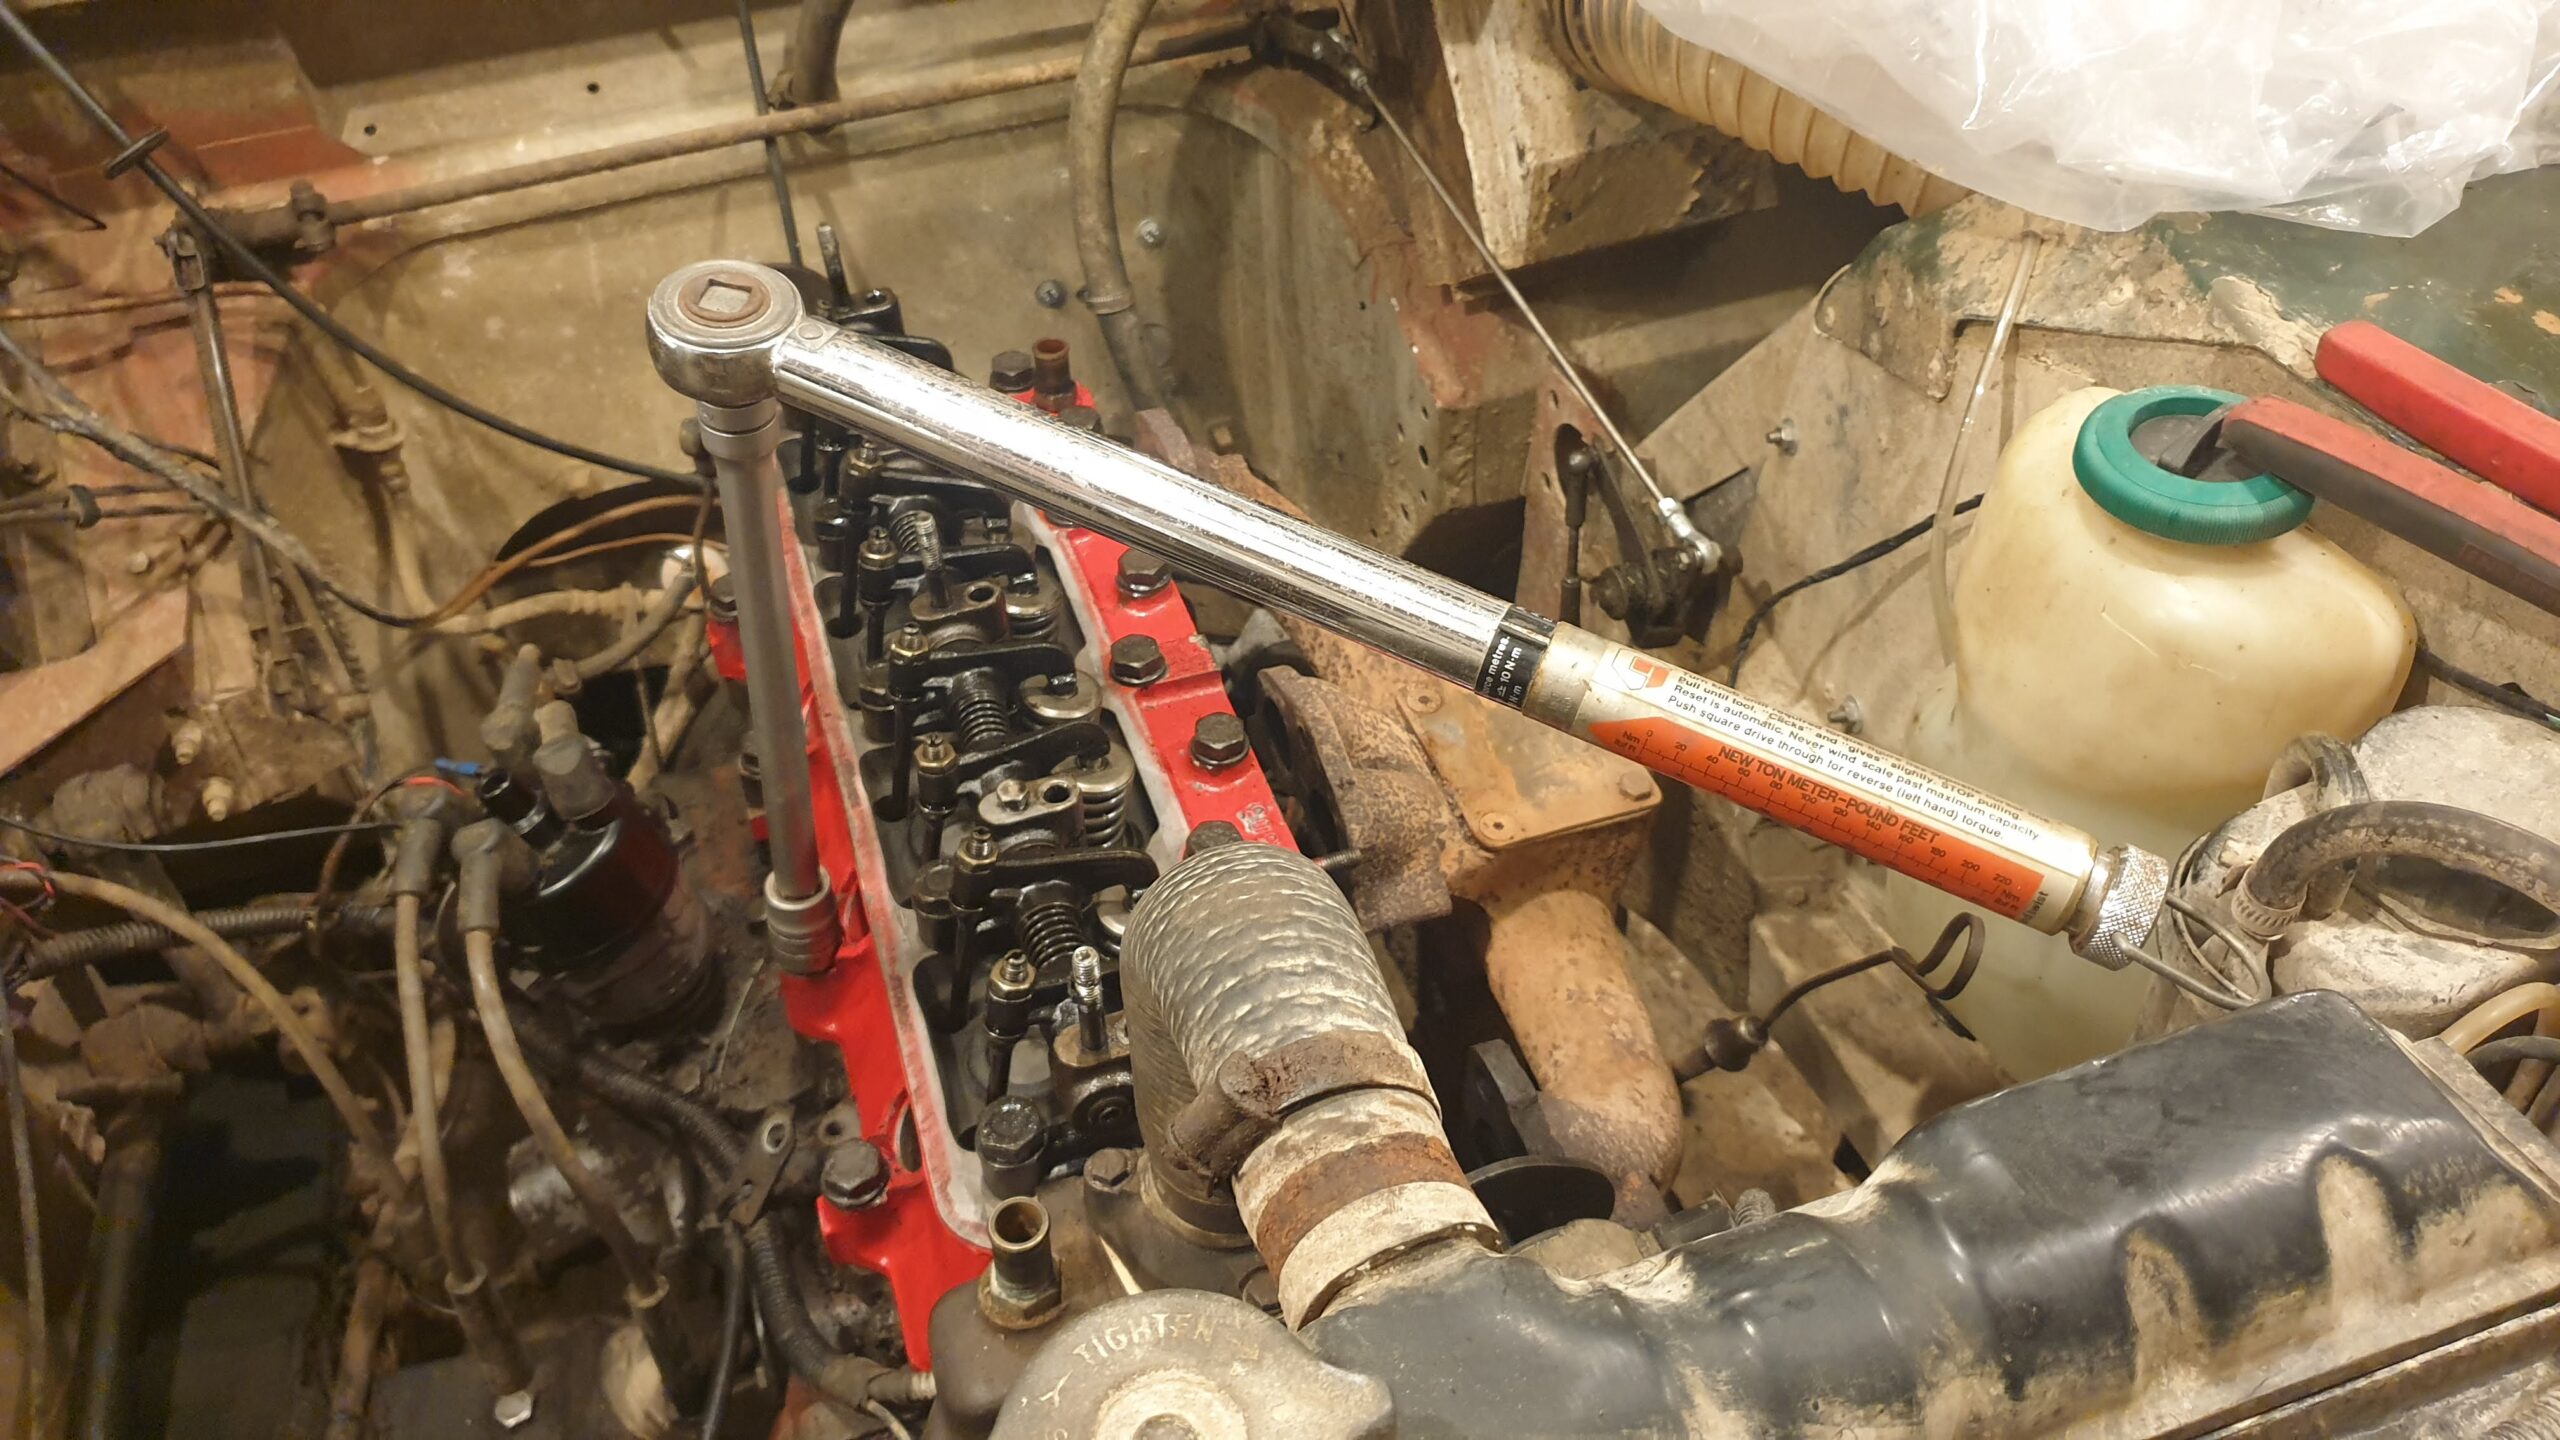
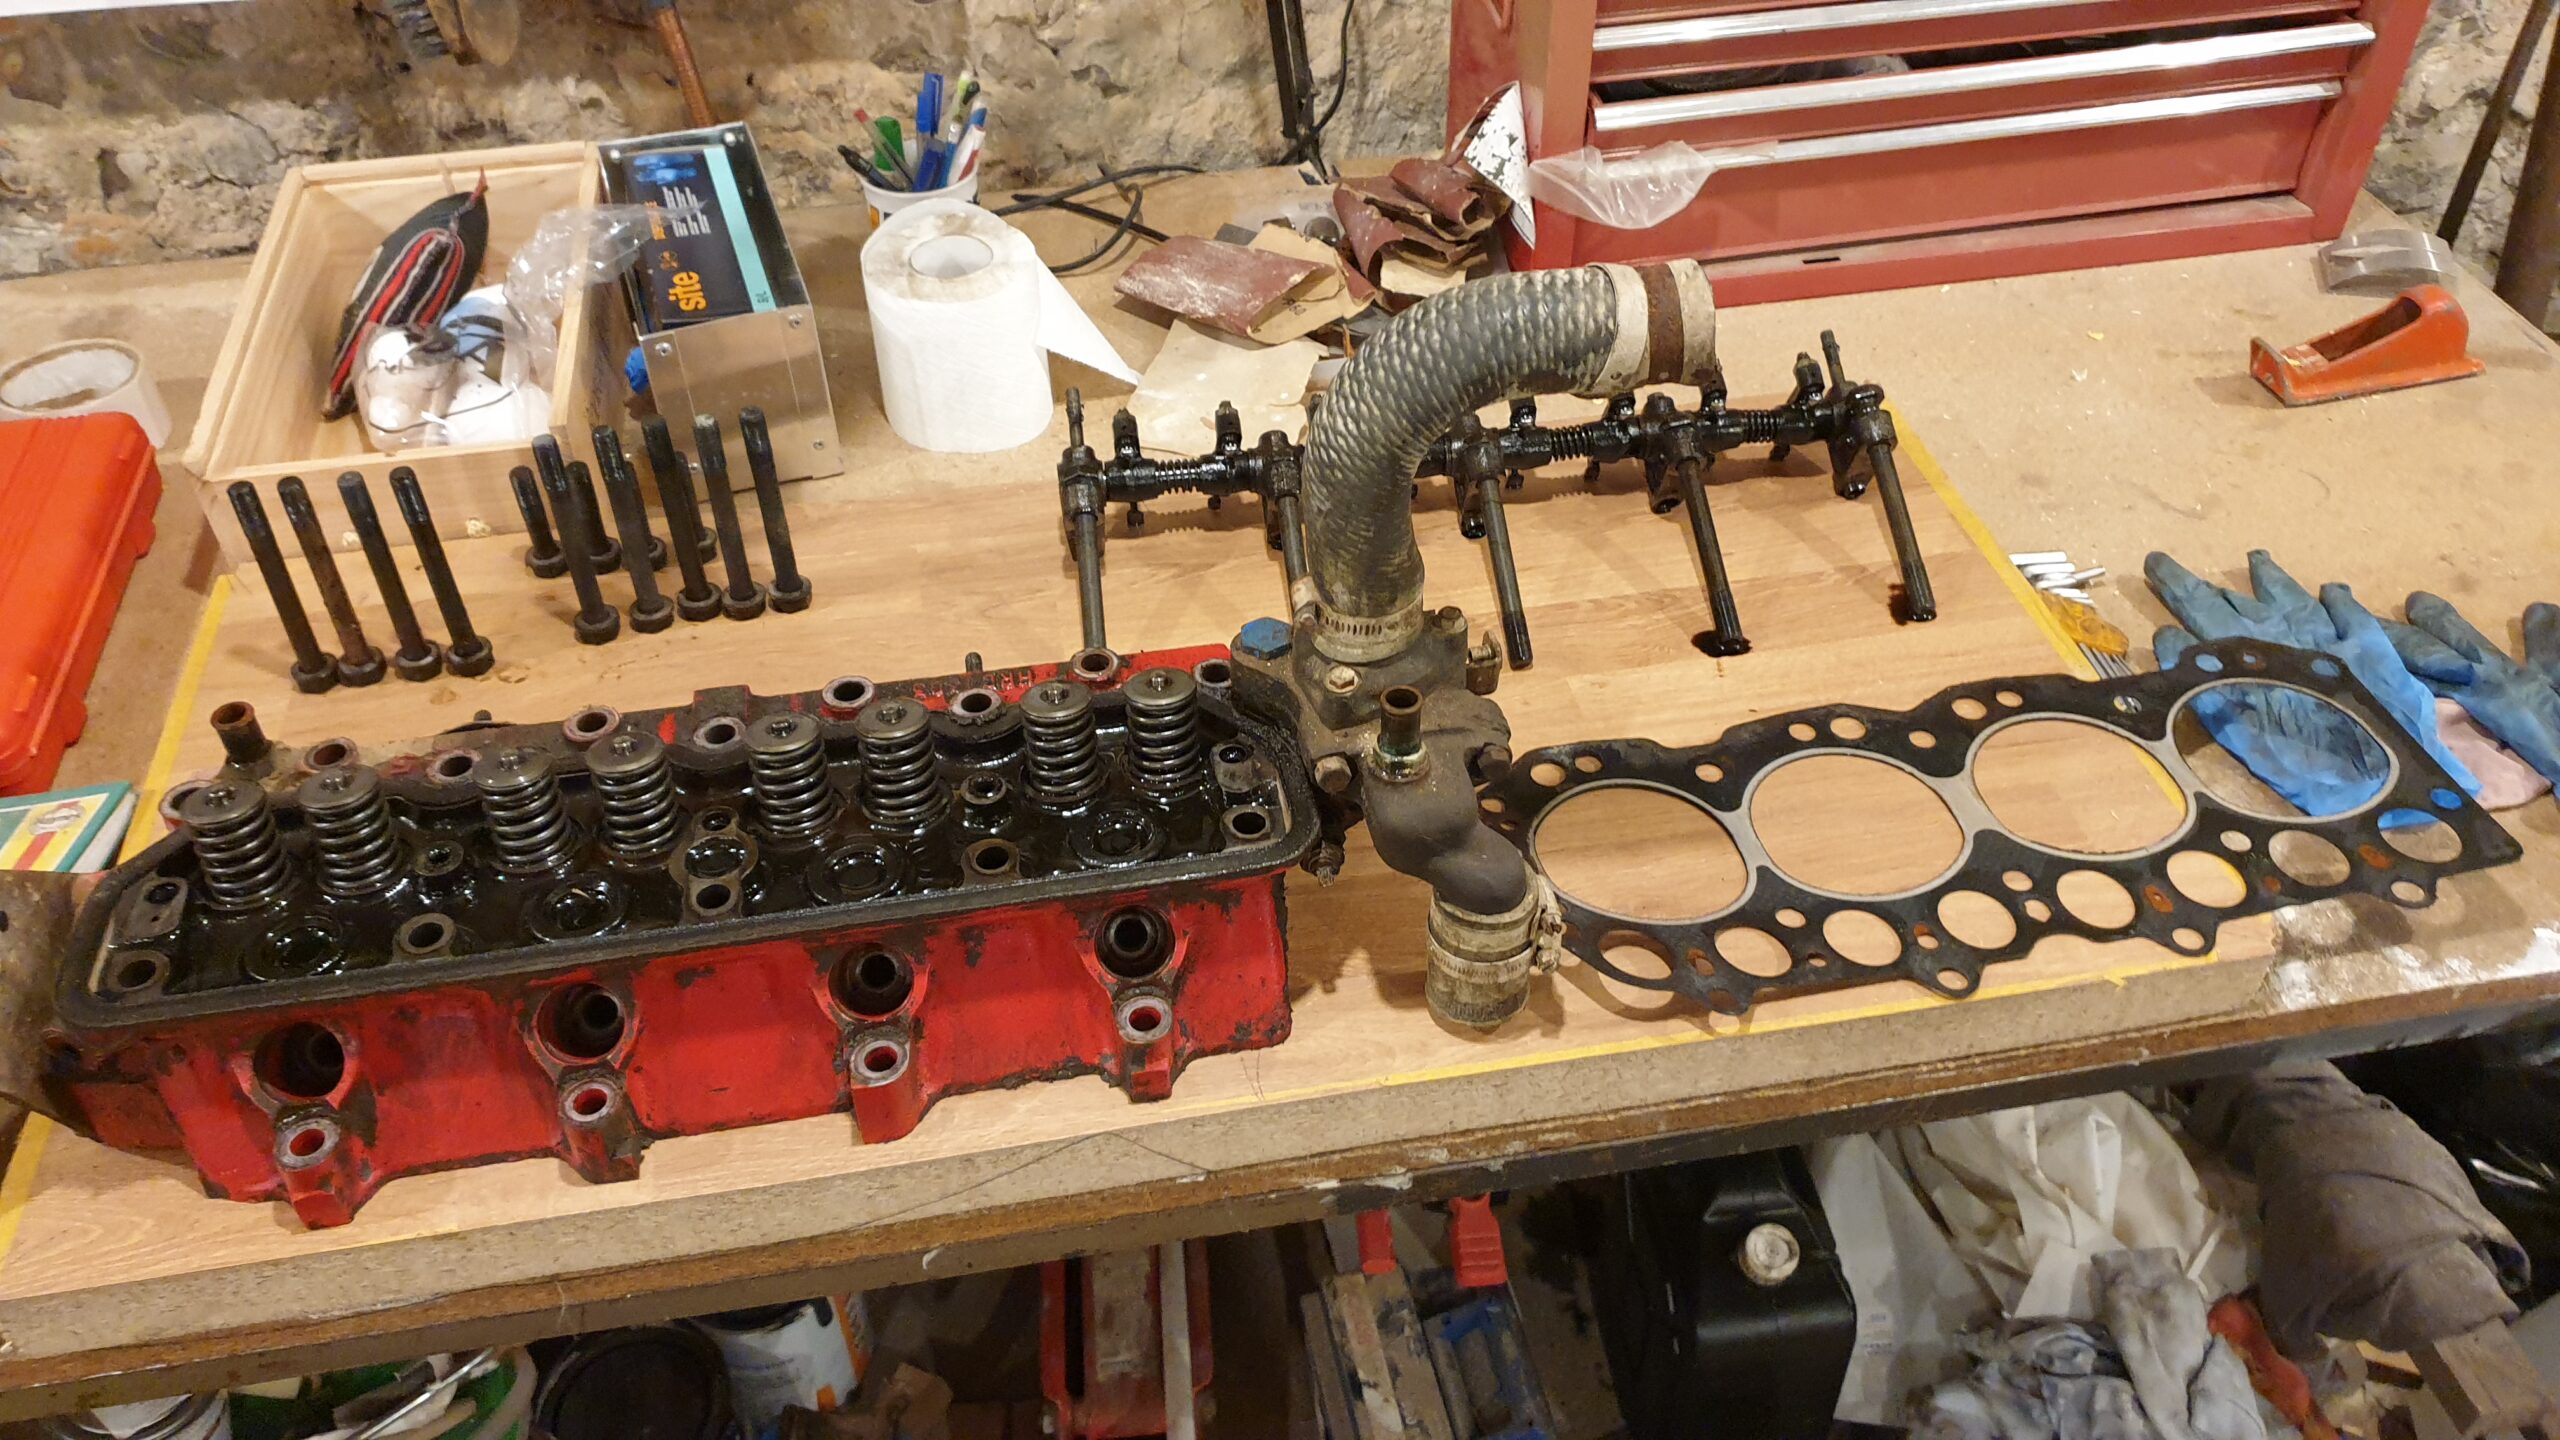
Torqued all the 1/2″ head bolts to 90 Nm and the 5/16″ ones to 30 Nm. then i went around re-attaching all of the hoses, manifolds etc to the head. Next job is the valve clearances.
I have lapped all of the valves in, now I just need to re-assemble the head and pop it back on with new stem seals and gaskets etc etc. Shouldn’t take too long. Looking lovely..
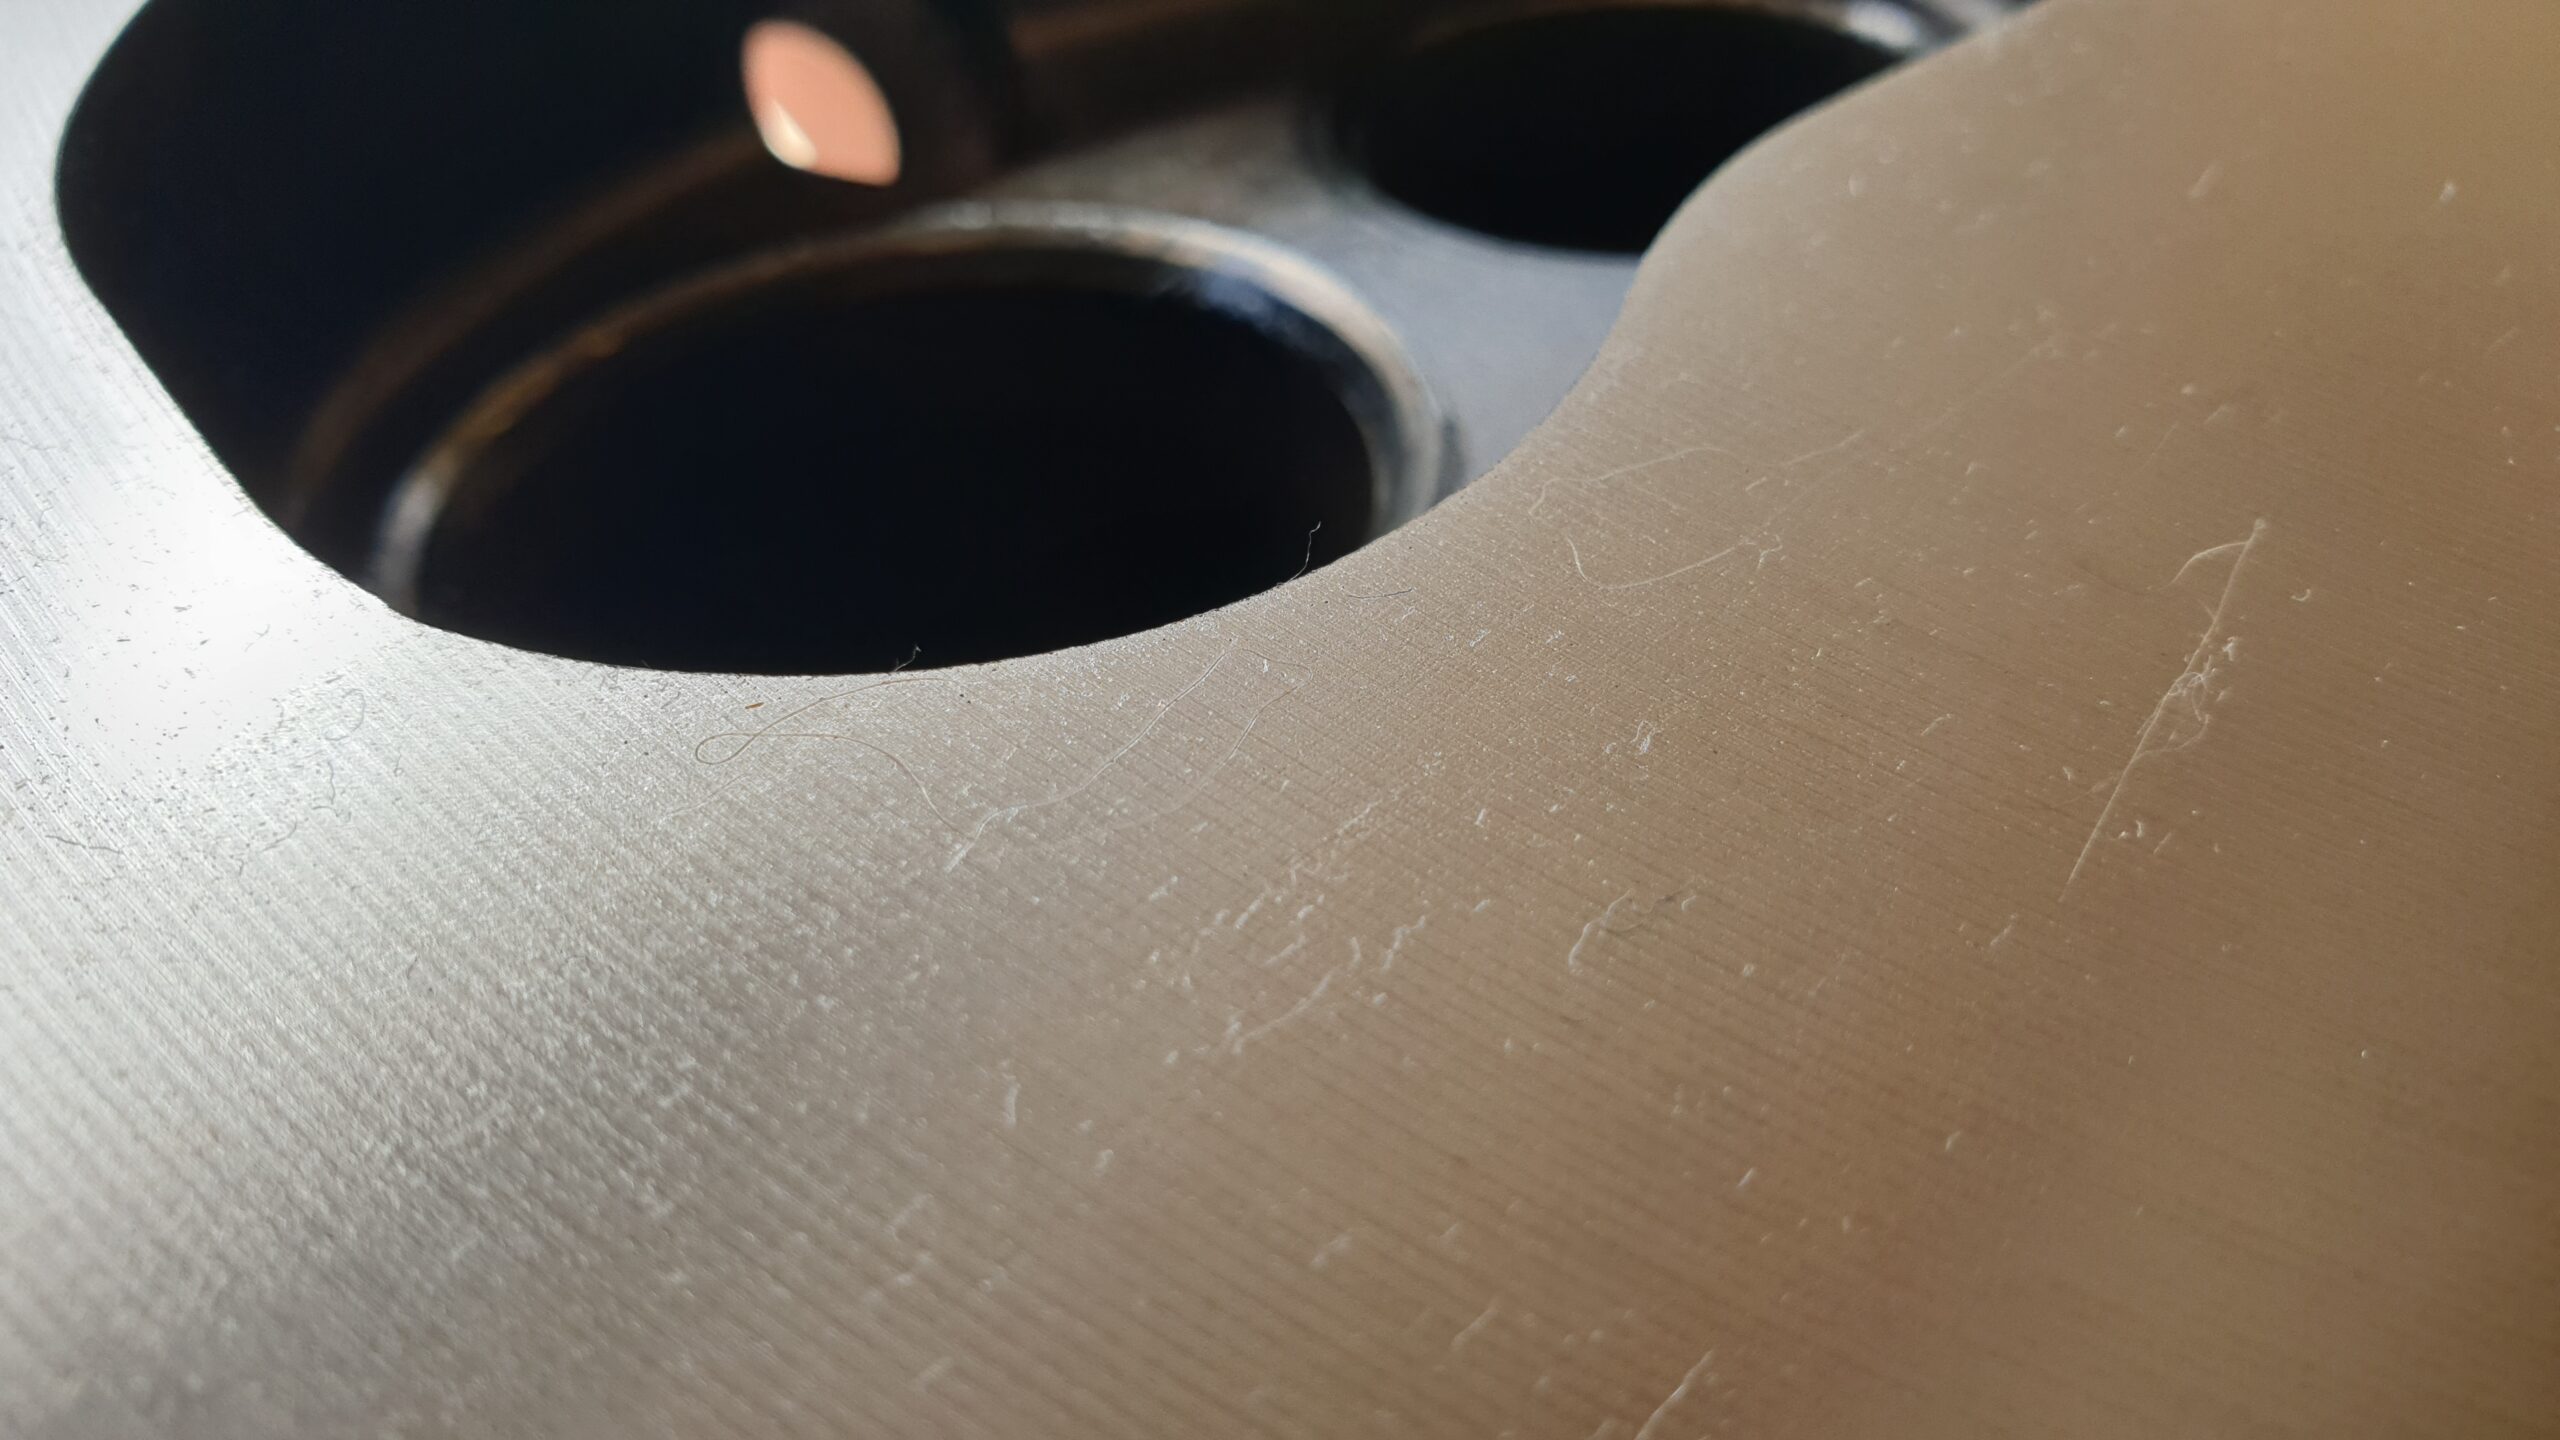
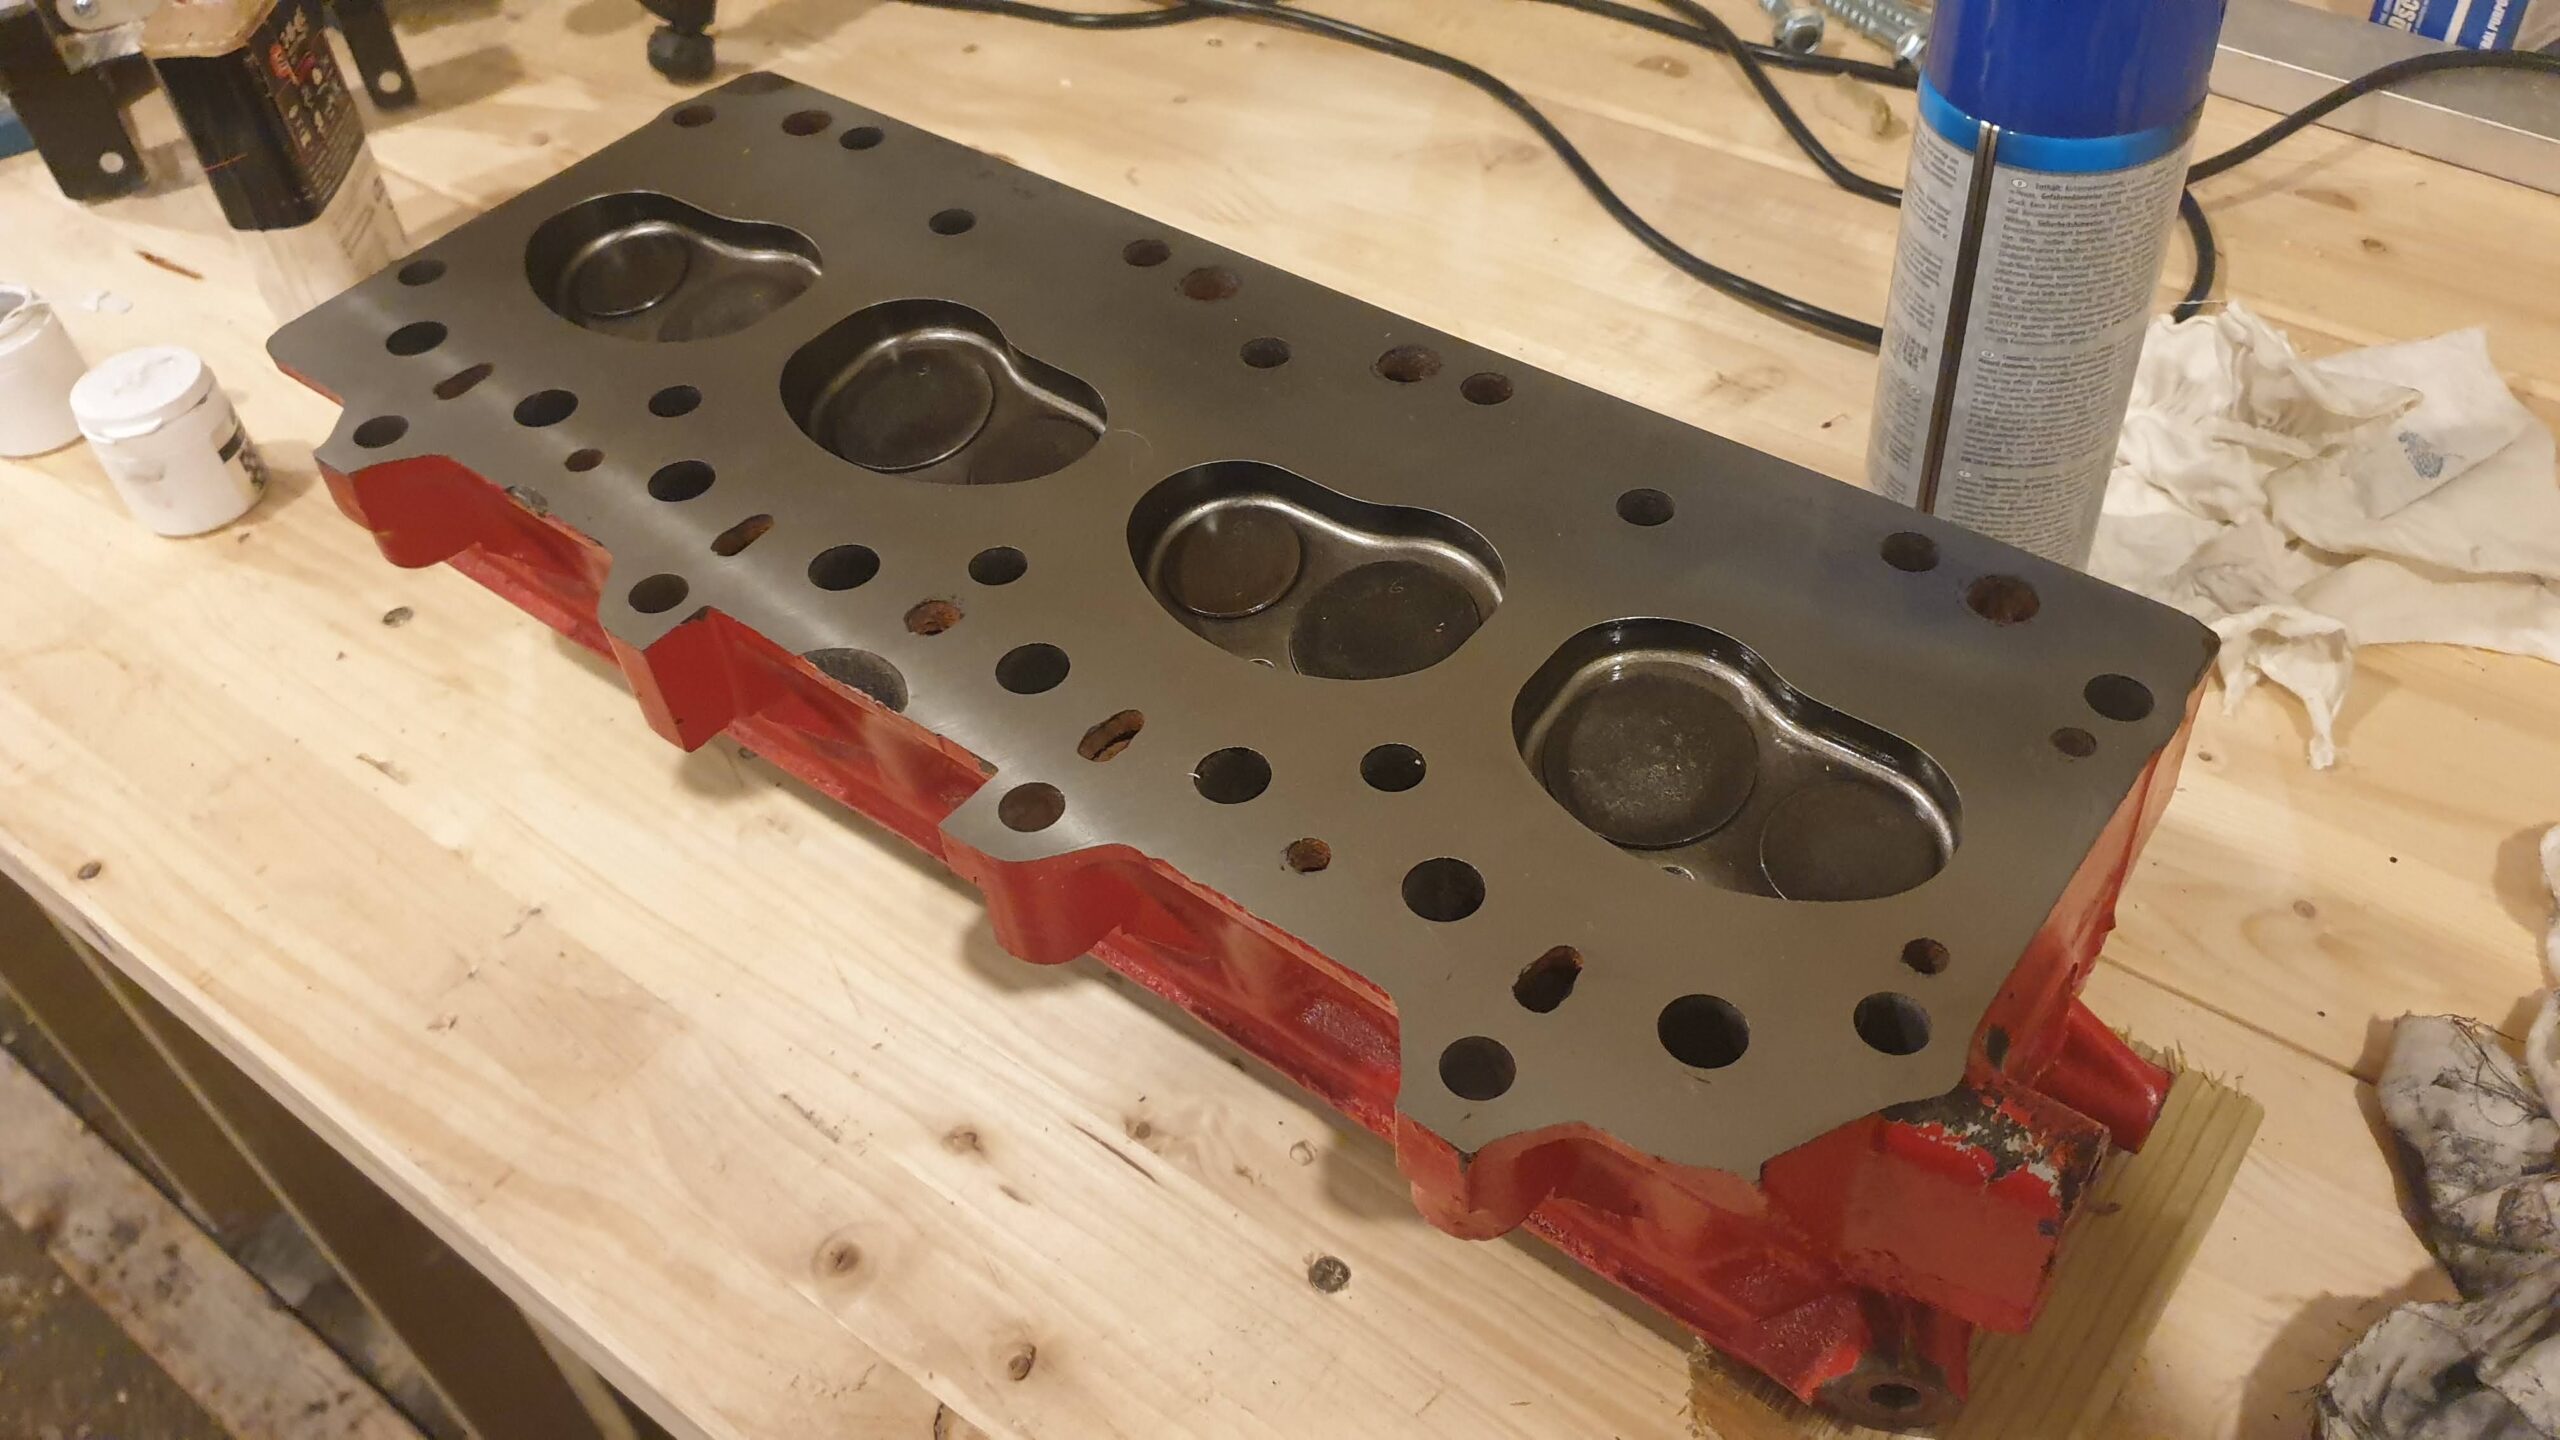
I went and picked up the head today from the place that skimmed it for me. I think the surface is looking vastly better. Apparently it was dished by about 2 thousandths of an inch.
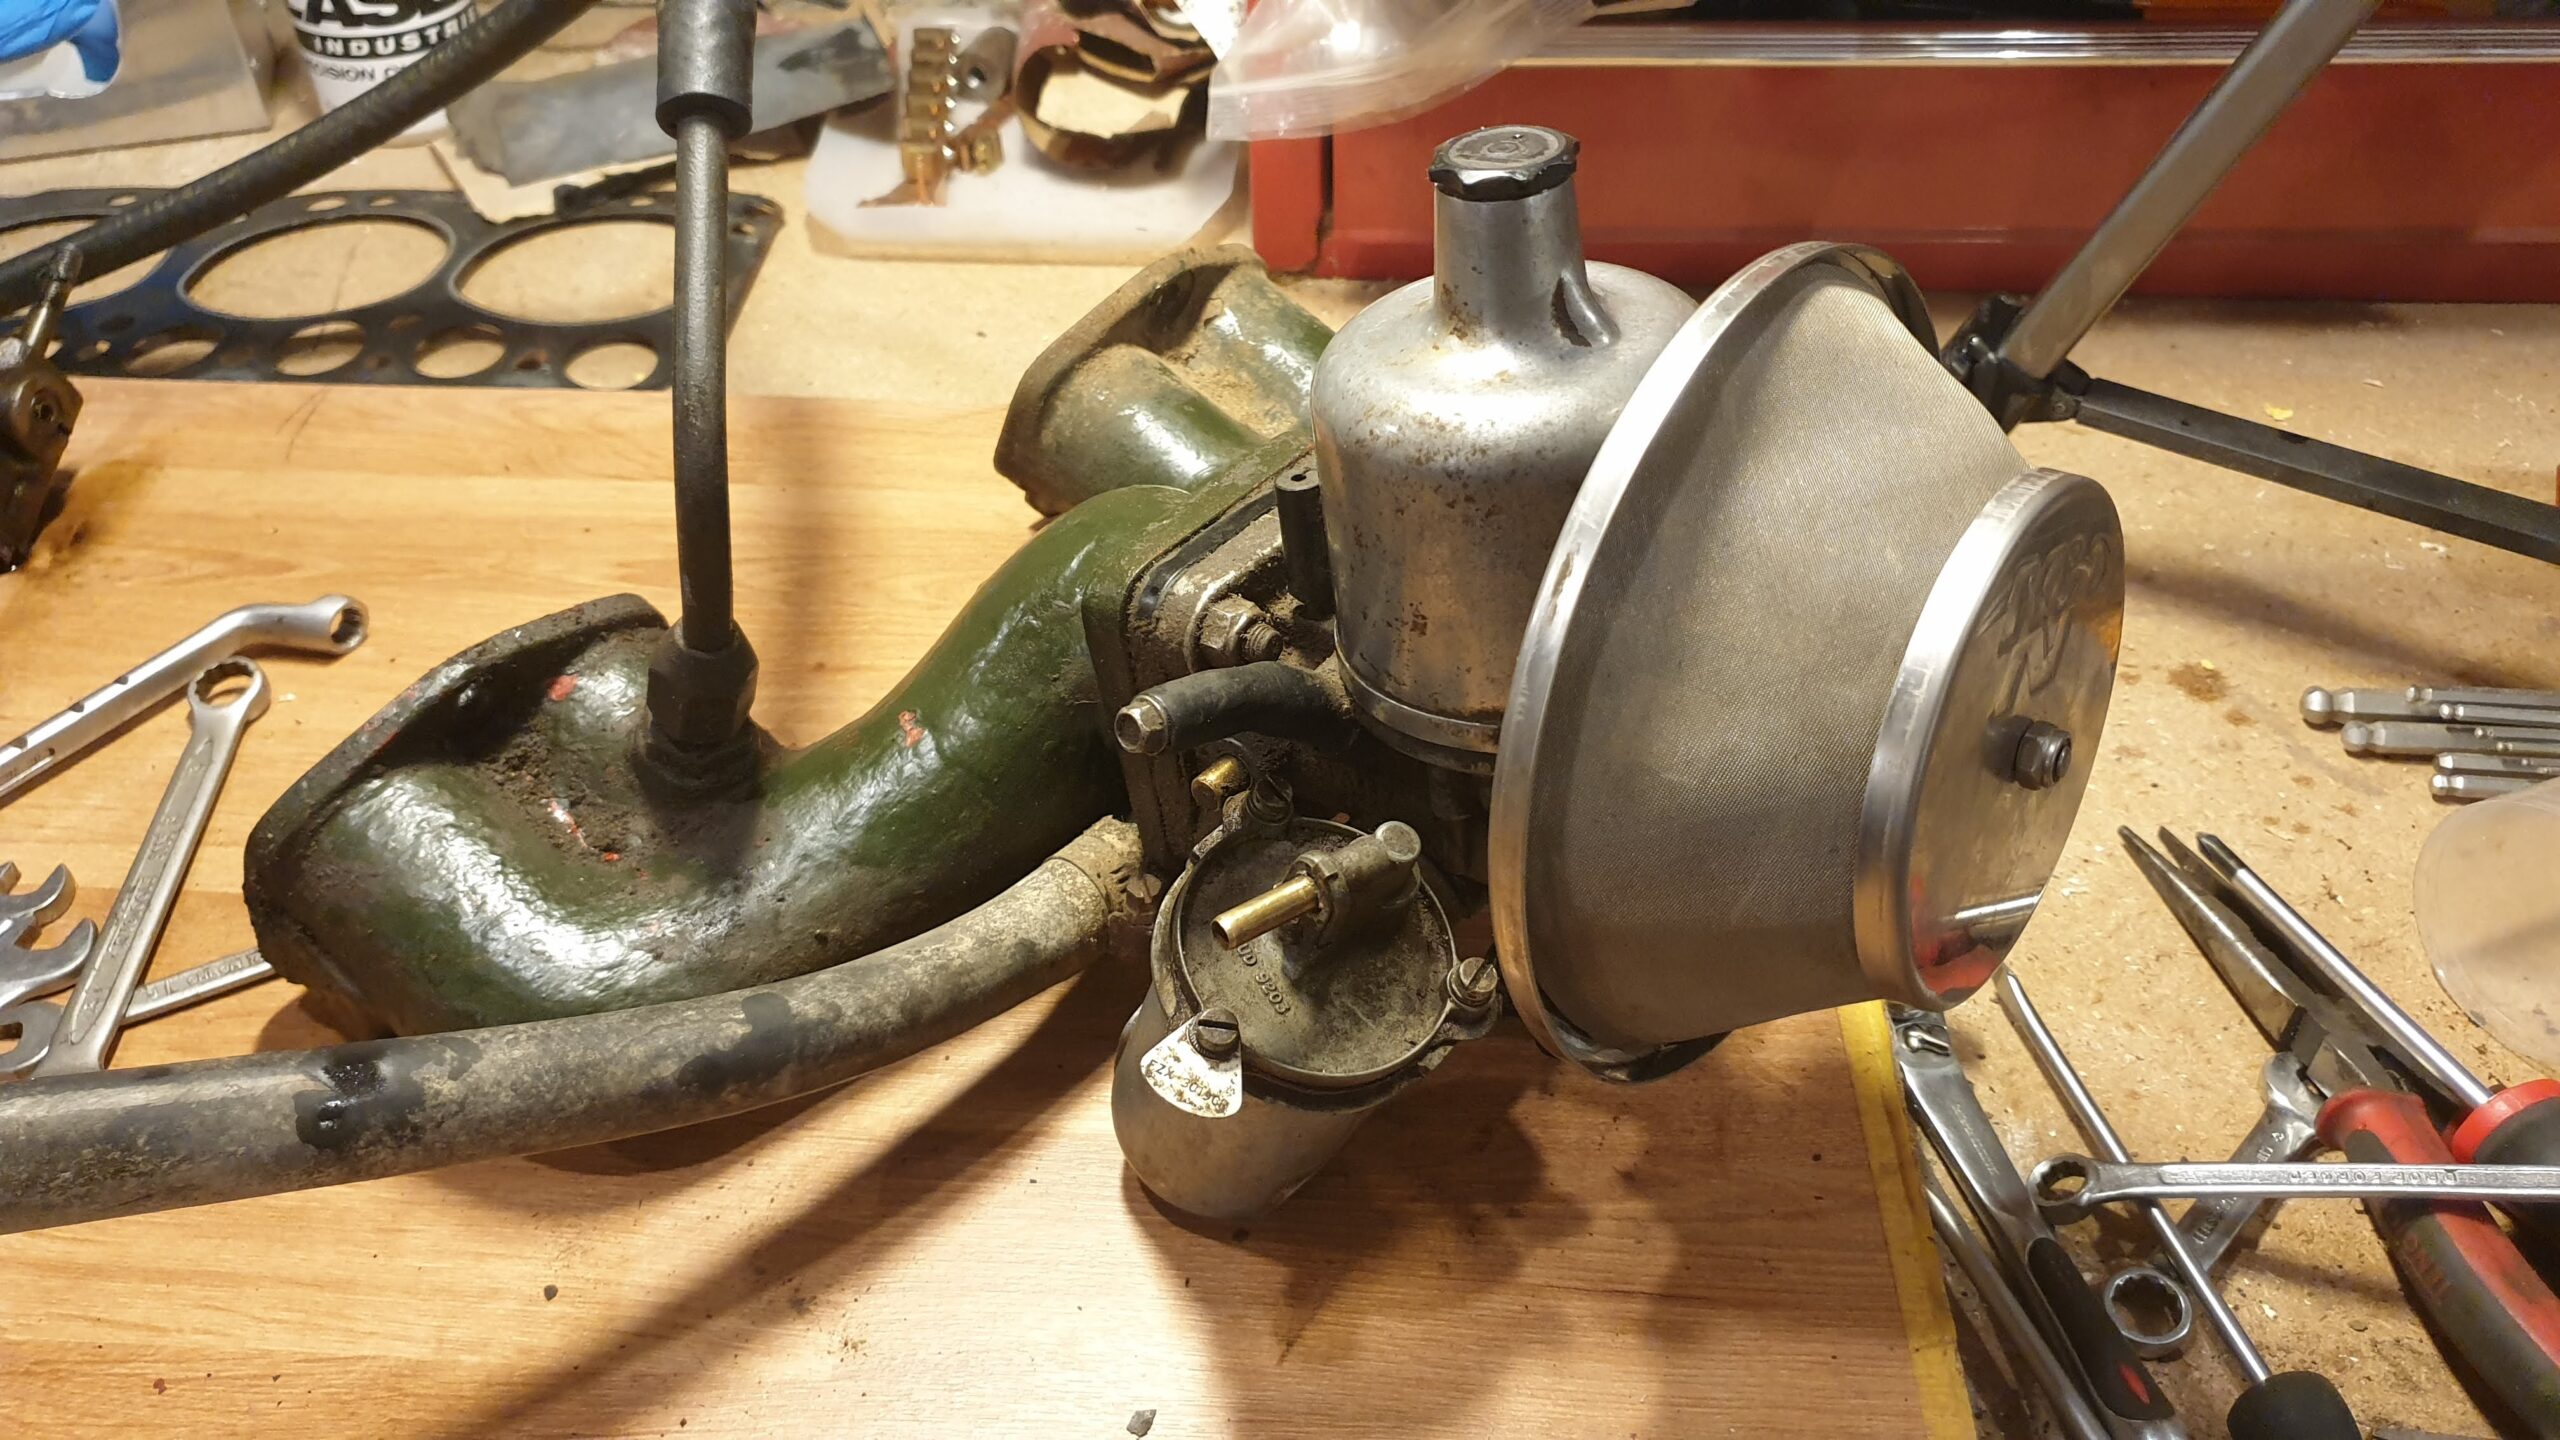
I stripped and re assembled the fuel related parts of the carb, all looked okay. I assume i achieved nothing in doing this short the knowledge that i likely wasted my time.
I got a rush of keen-nosity and pulled the head off the Land Rover last night. I didn’t really want to, but the moment grabbed me and I did it. I am glad it’s off, as I can see that there was one wet head bolt, suggesting that the gasket was letting water past. As it’s off now it’s an opportunity to get everything cleaned up and new gaskets everywhere. This was the spark plug inspection and compression testing, thanks to Dan for the compression tester. Then the removal of the head: And that’s as far as I have gotten, now I neeed to do a proper inspection of the head and block etc.
Recent Comments